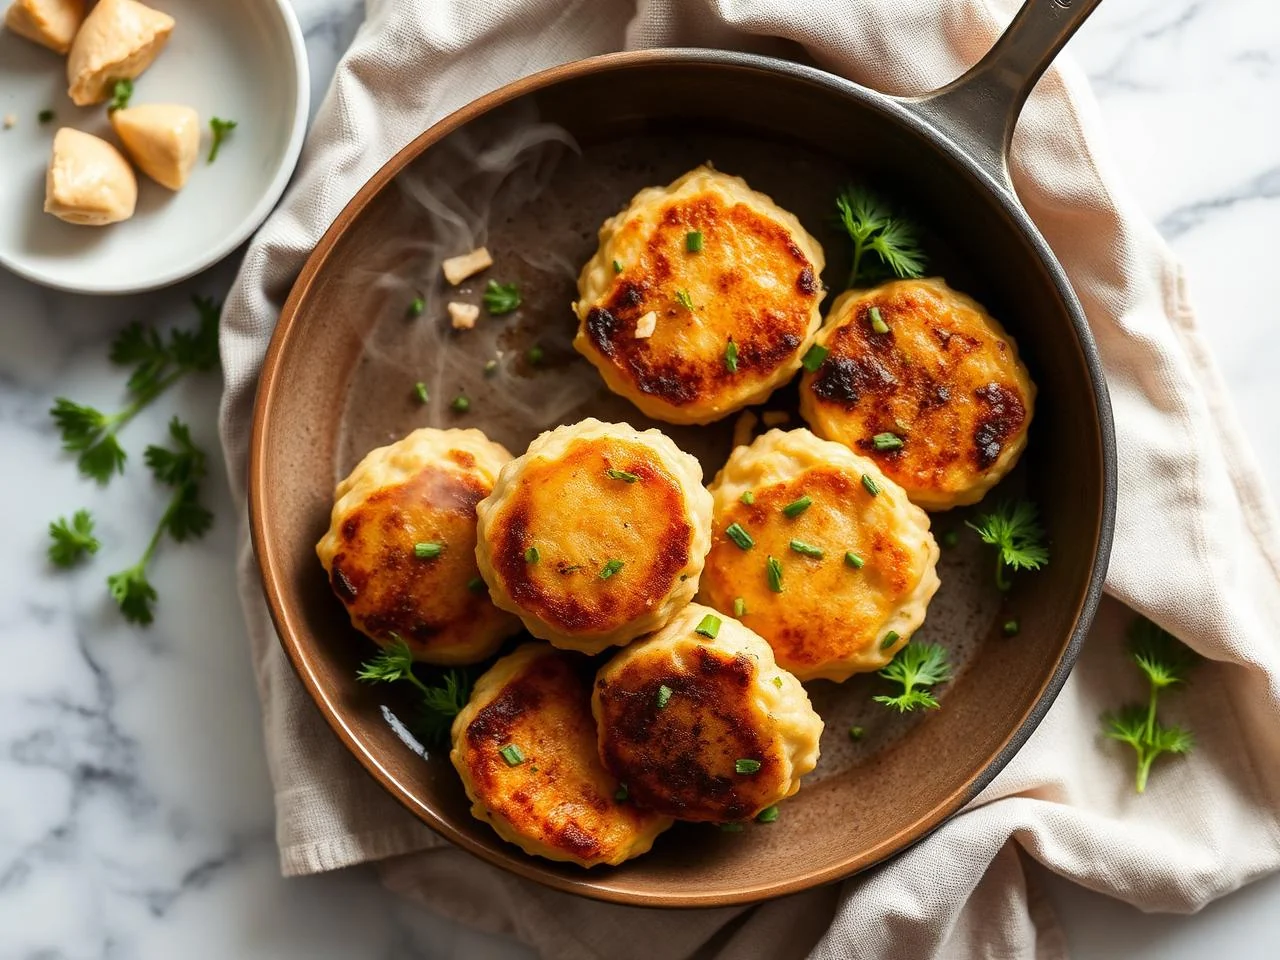
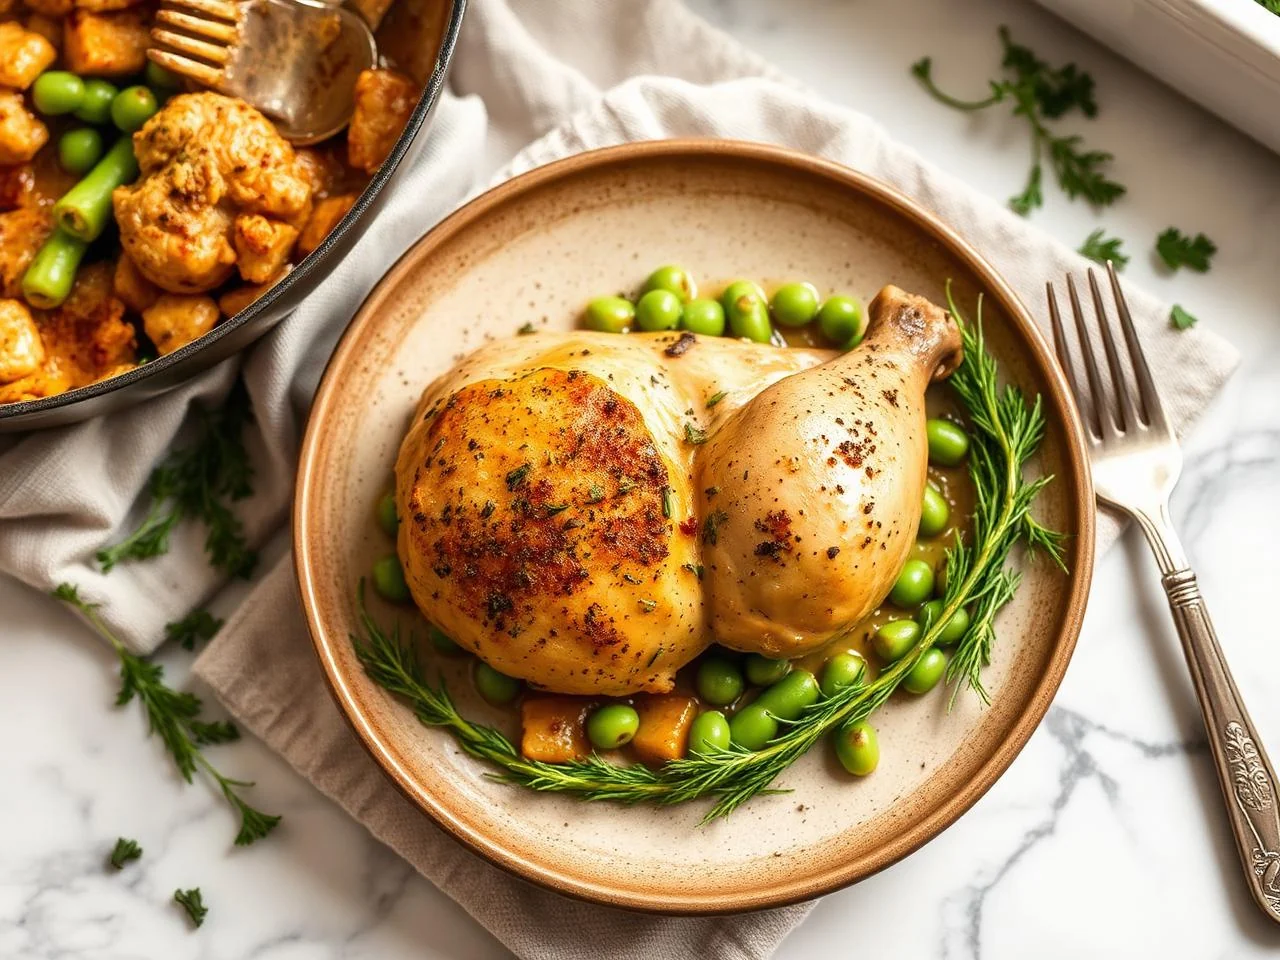
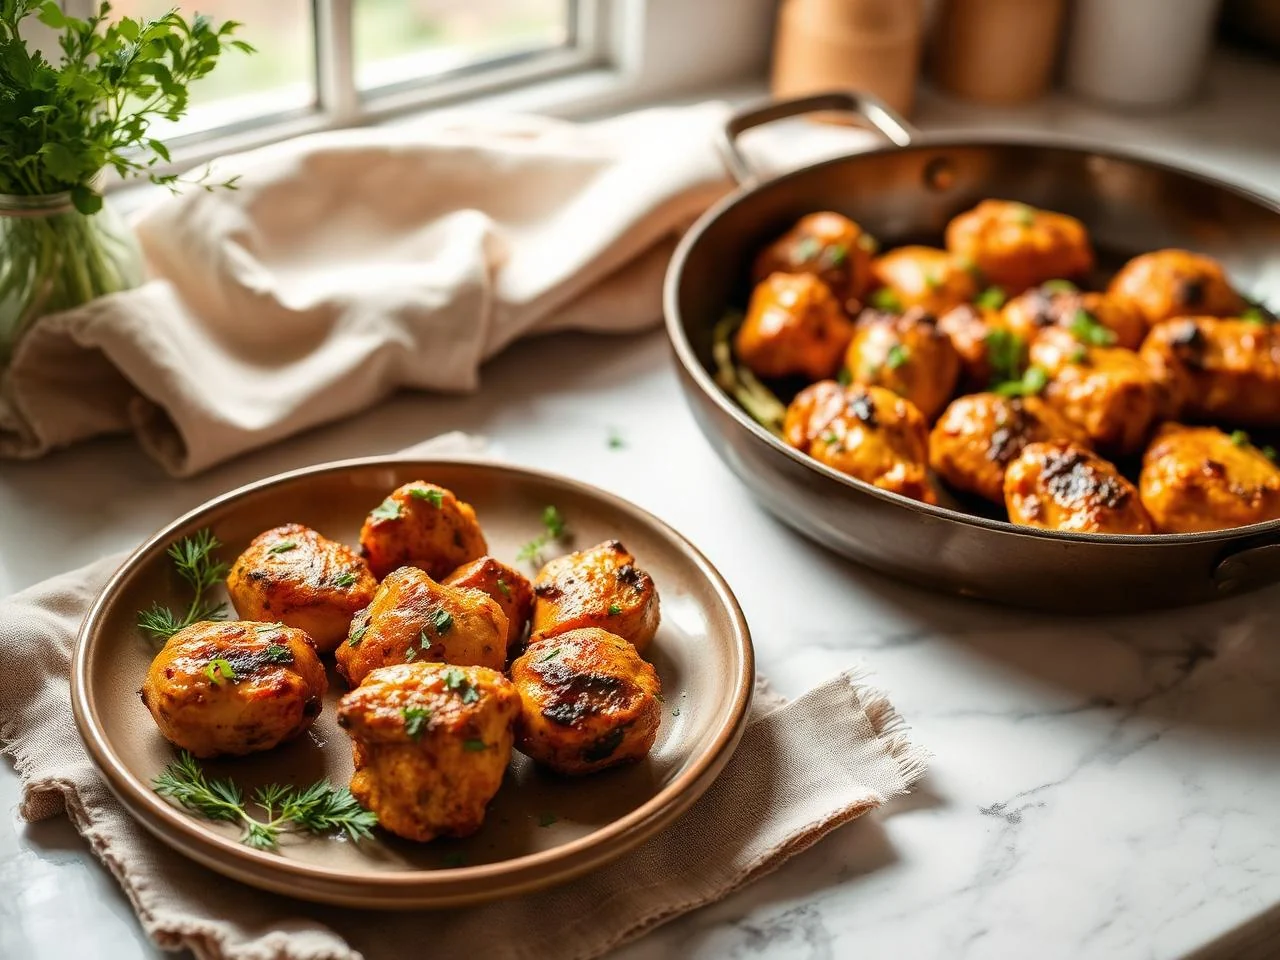
Welcome to Yumrecipeideas

Deliciously Easy Banana Mochi:

By Clara Whitaker | March 06, 2026
Deliciously Easy Banana Mochi:

I was standing in my kitchen, watching a pot of boiling water turn into a sticky mess, when a sudden craving hit me like a thunderclap. The idea of something sweet, chewy, and utterly comforting burst through my mind, and I realized I could turn that disaster into a delicious masterpiece. I grabbed a ripe banana, a handful of sweet rice flour, and a dash of sugar, and the kitchen suddenly smelled like a tropical sunrise. The sound of the sizzling pan was the soundtrack to my culinary rebellion. This is the moment that turned a kitchen mishap into a recipe that will haunt your taste buds forever.

Picture a golden, cloud‑like mochi that melts on your tongue, leaving a faint, sweet banana aftertaste that lingers like a whispered secret. The aroma that wafts from the pan is a blend of caramelized banana and subtle rice flour, a scent that makes even the most skeptical foodie swoon. The texture is a paradox: firm enough to hold its shape yet soft enough to dissolve with a single bite. The taste is a harmonious marriage of natural sweetness and a hint of vanilla, a flavor profile that feels like a warm hug. And the best part? It takes less than an hour to transform a few simple pantry staples into a dessert that feels like a celebration.

What makes this version stand out is not just the flavor, but the method. I discovered that using a small amount of cornstarch creates a silkier interior that resists the dryness that plagues most mochi recipes. The bananas are mashed to a perfect puree, ensuring an even distribution of moisture and sweetness. Sweet rice flour is the secret weapon that gives the mochi its signature chewiness, while the sugar is calibrated to enhance, not overpower, the banana’s natural flavor. The result is a dessert that is both indulgent and surprisingly healthy, with a low glycemic index thanks to the banana’s natural sugars.

I dare you to taste this and not go back for seconds. The texture is so unique that you’ll find yourself reaching for more, even when you’re already full. Picture yourself pulling this out of the pan, the whole kitchen smelling incredible, and sharing it with friends who will marvel at its softness. If you’ve ever struggled with mochi, you’re not alone — and I’ve got the fix. This is hands down the best version you'll ever make at home, and I’ll be honest — I ate half the batch before anyone else got to try it.

What Makes This Version Stand Out

  • Texture: The addition of cornstarch creates a silky interior that resists the dryness common in homemade mochi, resulting in a bite that feels like a cloud of comfort.
  • Flavor: The ripe banana imparts a natural sweetness that balances the mild flavor of sweet rice flour, leaving a subtle tropical aftertaste that lingers.
  • Speed: The entire process takes less than 45 minutes, making it an ideal dessert for last‑minute gatherings or a quick midnight snack.
  • Health: By using bananas as the primary sweetener and sweet rice flour, the recipe stays gluten‑free and lower in refined sugars than most store‑bought mochi.
  • Versatility: The base can be customized with add‑ins like matcha powder, coconut flakes, or chocolate chips, allowing endless flavor variations.
  • Make‑ahead: The mochi can be stored in the fridge for up to a week or frozen for longer, making it a practical treat for busy schedules.
Kitchen Hack: Replace the water with coconut milk for a richer, tropical flavor that also keeps the mochi extra moist.

Inside the Ingredient List

The Flavor Base

The foundation of any great dessert is its flavor base, and in this case, it’s the ripe bananas. Bananas are not just a sweetener; they’re a flavor powerhouse that provides natural sweetness, a subtle vanilla undertone, and a creamy texture that binds the mochi together. When mashed to a smooth puree, they distribute evenly throughout the batter, ensuring every bite is bursting with banana goodness. Skipping this step would leave the mochi bland and dry, so don’t be tempted to use a smaller quantity or substitute with less flavorful fruit.

When choosing bananas, look for ones that are slightly overripe—peel that shows a few brown spots and a soft feel. These bananas release more natural sugars and have a richer flavor profile. If you’re in a hurry, a ripe banana is still fine; just mash it thoroughly to avoid lumps. Remember, the quality of the bananas directly impacts the final taste, so treat this ingredient with the reverence it deserves.

A common mistake is over‑mashing the bananas into a thick paste that clumps. Keep the texture slightly chunky; this gives the mochi a pleasant bite and prevents it from becoming too mushy. If you prefer a smoother mochi, you can blend the bananas in a food processor for a finer consistency, but be cautious not to over‑process. The goal is a balance between smoothness and texture, so that each bite feels both silky and satisfying.

The Texture Crew

Sweet rice flour, also known as mochiko, is the star of the texture crew. This flour is made from glutinous rice, which contains a high amount of amylopectin, giving the mochi its characteristic chewiness. The flour’s fine, powdery texture allows it to absorb moisture from the bananas, creating a dough that’s elastic yet pliable. The key is to sift the flour before mixing to remove any clumps, ensuring a smooth batter that doesn’t clump in the pan.

Cornstarch is the secret weapon that elevates the texture from chewy to silky. When added in small quantities, it helps to bind the mochi together and gives it a slightly translucent appearance. It also acts as a moisture absorber, preventing the mochi from drying out during the cooking process. Without cornstarch, the mochi would be denser and less airy, so don’t skip it unless you’re willing to compromise on the mouthfeel.

The water in this recipe plays a dual role: it hydrates the flour and helps to dissolve the sugar, creating a uniform batter. If you use cold water, the mochi will take a bit longer to set, which can be advantageous if you’re working with a hot pan. Warm water speeds up the process but can also cause the batter to cook unevenly if not monitored closely. Experiment with the temperature to find the balance that works best for your stovetop.

The Unexpected Star

Sugar is the unexpected star that sweetens the mochi without overpowering the banana’s natural flavor. The 1/4 cup of sugar is carefully measured to strike a sweet spot that enhances the banana’s sweetness without making the mochi cloying. The sugar also caramelizes slightly during cooking, giving the mochi a subtle golden hue and a hint of depth to the flavor profile.

If you’re watching your sugar intake, you can reduce the amount to 2 tablespoons, but be prepared for a slightly less sweet result. Alternatively, you can replace it with a natural sweetener like honey or maple syrup, though this will alter the texture slightly due to the liquid content. Keep in mind that any substitution will affect the final consistency, so adjust the water accordingly to maintain the batter’s fluidity.

A fun fact about sugar in mochi: it’s not just about sweetness; sugar also contributes to the Maillard reaction, which gives the mochi its delicate caramelized crust. This reaction is what makes the outer layer slightly crisp while the interior remains soft and chewy. The tiny crystals of sugar help to set the structure, ensuring the mochi holds its shape while still being tender.

Fun Fact: Sweet rice flour has been used in East Asian cuisine for centuries, originally cultivated in Japan for its unique chewy texture.

The Final Flourish

The final flourish of this recipe is the combination of all the elements coming together in a single pan. The batter is poured onto a hot, greased surface, and as it begins to bubble, you’ll notice a faint scent of banana and toasted flour. The batter should spread out in a thin, even layer, and the edges will start to pull away slightly from the pan. This is the moment of truth where the mochi’s texture and flavor are locked in place.

Once the mochi has cooked for a few minutes on one side, flip it carefully using a spatula. The flip should be quick and gentle to avoid tearing the delicate surface. The second side will cook slightly faster, so keep a close eye on the color, aiming for a golden‑brown hue. When the mochi is ready, it should feel firm yet springy to the touch, a sign that it’s cooked to perfection.

Finally, allow the mochi to rest for a few minutes before cutting. This resting period lets the moisture redistribute, ensuring that each slice is moist and tender. When you cut into it, the mochi should slice cleanly without sticking to the knife, revealing a glossy interior that glistens with a light sheen. The aroma will intensify, making the anticipation almost unbearable.

Deliciously Easy Banana Mochi:

The Method — Step by Step

  1. Prep the Bananas: Peel the ripe bananas and place them in a mixing bowl. Mash them with a fork until they reach a smooth, lump‑free consistency. I dare you to taste the mash; it should be buttery and fragrant, like a tropical sunrise. This step is crucial for ensuring the banana’s natural sweetness is evenly distributed.
  2. Mix Dry Ingredients: In a separate bowl, sift together 1 cup of sweet rice flour and 1 tablespoon of cornstarch. Sifting removes clumps and ensures a silky batter. Add 1/4 cup of sugar and stir until fully incorporated. The dry mix should feel light and airy, ready to absorb the banana.
  3. Combine Wet and Dry: Pour 1/2 cup of water into the banana mash, whisking until fully blended. Slowly add the dry mix to the wet mixture, stirring continuously. The batter should be thick but pourable, like a thick custard.
    Kitchen Hack: For a richer flavor, replace the water with an equal volume of coconut milk.
  4. Heat the Pan: Preheat a non‑stick skillet over medium heat and lightly grease it with a neutral oil or butter. The pan should be hot enough that a drop of batter sizzles instantly. This ensures the mochi cooks evenly and develops a slight crust.
  5. Cook the First Side: Pour the batter into the pan, spreading it into a thin, even layer. Let it cook for 3–4 minutes until the edges lift slightly and the surface is set. Watch the color change; it should turn a light golden hue.
    Watch Out: Do not flip too early; the mochi will tear if the surface isn’t set enough.
  6. Flip Carefully: Use a wide spatula to gently flip the mochi. The second side cooks faster, so keep the heat moderate. Once the second side is golden brown, the mochi is ready. The aroma will fill the kitchen, and the texture will feel firm yet springy.
  7. Cool on a Wire Rack: Transfer the cooked mochi to a wire rack and let it cool for 5 minutes. Cooling on a rack prevents steam from making the mochi soggy. This step also allows the mochi to set, making it easier to cut into bite‑sized pieces.
  8. Slice and Serve: Cut the mochi into small squares or bite‑sized pieces. Serve immediately or store in an airtight container. The mochi will stay moist for up to a week in the fridge, and it can be frozen for longer storage.
Kitchen Hack: If you prefer a sweeter mochi, sprinkle a pinch of matcha powder into the batter for an earthy, vibrant twist.

Insider Tricks for Flawless Results

The Temperature Rule Nobody Follows

Many cooks assume that higher heat will cook the mochi faster, but this is a myth. The ideal temperature is medium, which allows the mochi to set slowly and develop a silky interior. If the pan is too hot, the outer layer will burn before the inside cooks, leading to a hard crust and a raw center. I once flipped a mochi too early, and the result was a sad, uneven texture that I could only salvage by adding a drizzle of honey. Stick to medium heat, and your mochi will thank you.

Why Your Nose Knows Best

Your nose is a reliable judge of doneness. As the mochi cooks, the aroma shifts from sweet banana to a warm, toasted scent. When the scent is rich and inviting, it’s a sign that the mochi is ready to flip. I’ve learned to trust my nose more than my timer; a fresh aroma is the real indicator of a perfect mochi. If you’re unsure, give it an extra minute and let the scent deepen.

The 5‑Minute Rest That Changes Everything

After cooking, let the mochi rest for exactly five minutes on a wire rack. This short rest allows the moisture to redistribute, ensuring each bite stays moist and tender. Skipping this step often results in a slightly dry center that feels more like a cookie than a mochi. I’ve seen friends who skip the rest end up with a chewy but dry texture; they’re always disappointed. Trust me, that five minutes makes all the difference.

Use a Non‑Stick Skillet for Easy Release

A non‑stick skillet is a must for this recipe. Even a tiny amount of oil can cause the mochi to stick, ruining its smooth surface. If you don’t have a non‑stick pan, lightly oil a regular skillet and wipe off excess oil before cooking. A slick surface ensures a clean release and a beautiful, uniform finish. I once tried a stainless steel pan, and the mochi stuck like a stubborn stain.

Keep the Batter Thick but Pourable

The batter should be thick enough to hold its shape but still pourable enough to spread evenly. If it’s too thick, it will create thick, uneven layers that are hard to flip. If it’s too thin, it will spread too quickly and become a flat, pancake‑like sheet. The right consistency is like a thick custard that can be poured and spread with a spatula. I’ve experimented with adding a splash of milk to thin it out, but it’s usually unnecessary.

Store in an Airtight Container

Once the mochi has cooled, store it in an airtight container. This prevents the mochi from drying out and preserves its chewy texture. If you’re storing it for more than a day, keep it in the refrigerator to maintain freshness. I’ve kept a batch in the fridge for a week, and it still tasted like a fresh batch. For longer storage, freeze the mochi in a single layer and reheat when ready.

Kitchen Hack: Freeze individual mochi pieces on a parchment paper tray before transferring them to a freezer bag; this prevents them from sticking together.

Creative Twists and Variations

Matcha Magic

Add a tablespoon of matcha powder to the batter for a vibrant green mochi that tastes like a Japanese tea ceremony. The earthy flavor pairs beautifully with the banana, creating a balanced, sophisticated dessert. This variation is perfect for a spring gathering or a tea‑time treat.

Coconut Cloud

Replace the water with coconut milk and sprinkle toasted coconut flakes on top before serving. The coconut adds a subtle tropical flavor that complements the banana’s sweetness, creating a mochi that feels like a vacation in a bite.

Chocolate Chunk Delight

Fold in dark chocolate chips after the batter has cooked for a few minutes. The chocolate melts slightly, creating pockets of molten chocolate within the chewy mochi. This variation is a hit with kids and adults alike, especially during movie nights.

Nutty Crunch

Stir in a handful of chopped toasted almonds or walnuts before cooking. The nuts add a pleasant crunch and a nutty aroma that elevates the overall flavor profile. This version is ideal for a protein‑rich snack or a post‑workout treat.

Spiced Banana Surprise

Add a pinch of ground cinnamon or nutmeg to the batter for a warm, comforting flavor. The spices mingle with the banana’s natural sweetness, creating a mochi that feels like a cozy fall dessert. It’s a simple tweak that adds depth.

Berry Burst

Incorporate fresh blueberries or raspberries into the batter before cooking. The berries burst into sweet juices, giving the mochi a fruity twist that’s refreshing and light. This variation is perfect for a summer afternoon.

Storing and Bringing It Back to Life

Fridge Storage

Place the cooled mochi in an airtight container and store it in the refrigerator for up to a week. The mochi will retain its chewy texture and stay fresh. If the mochi starts to dry out, a tiny splash of water before reheating can revive its moisture.

Freezer Friendly

Freeze the mochi in a single layer on parchment paper before transferring it to a freezer bag. This prevents the mochi from sticking together and allows you to thaw individual pieces as needed. Frozen mochi can be stored for up to three months.

Best Reheating Method

To reheat, place the mochi on a microwave‑safe plate and microwave on medium for 10–15 seconds, or warm in a dry skillet over low heat for a few minutes. Adding a splash of water before reheating helps the mochi steam back to its original softness. The result is a mochi that feels freshly made, even after storage.

Deliciously Easy Banana Mochi:

Deliciously Easy Banana Mochi:

Homemade Recipe

Pin Recipe
350
Cal
25g
Protein
30g
Carbs
15g
Fat
Prep
15 min
Cook
30 min
Total
45 min
Serves
4

Ingredients

4
  • 2 ripe bananas
  • 1 cup sweet rice flour
  • 0.25 cup sugar
  • 0.5 cup water
  • 1 tablespoon cornstarch

Directions

  1. Mash the ripe bananas until smooth, then stir in water.
  2. Sift the sweet rice flour and cornstarch together, then add sugar.
  3. Combine the wet and dry mixtures, whisking until a thick batter forms.
  4. Heat a non‑stick skillet over medium heat and grease lightly.
  5. Pour the batter into the pan, cooking until the edges lift and the surface sets.
  6. Flip carefully and cook the second side until golden brown.
  7. Cool on a wire rack for 5 minutes, then cut into bite‑sized pieces.
  8. Serve immediately or store in an airtight container in the fridge.

Common Questions

Yes, thaw the bananas fully and mash them. Frozen bananas may produce a slightly colder texture, but the flavor remains intact.

You can use regular rice flour or all‑purpose flour, but the texture will be less chewy. Adding an extra tablespoon of cornstarch can help mimic the chewiness.

Absolutely! Fold in dark or milk chocolate chips after the batter has cooked for a few minutes.

Up to a week in an airtight container. For best texture, let it sit at room temperature for 10 minutes before eating.

Yes, sweet rice flour is naturally gluten‑free, so the recipe is already gluten‑free.

Microwave on medium for 10–15 seconds, or warm in a dry skillet over low heat for a few minutes. A splash of water helps restore moisture.

More Recipes