I never thought a burnt cookie would lead me to a culinary revelation, but there I was, staring at a blackened batch of chocolate that could have been a crime scene. I had the courage to salvage it, tossing it into a mixing bowl, and that was the moment my kitchen became a laboratory of sweet alchemy. The moment the dough hit the oven, I realized I was about to create something that would haunt my taste buds for days. That single kitchen mishap turned into a dare: to turn a disaster into a masterpiece that would make even my skeptical friends swoon. If you’re ready to hear the story of how a kitchen catastrophe became a crowd‑pleaser, keep reading.
The aroma that wafted from the oven was a seductive blend of chocolate, sugar, and a hint of caramelized butter, like a velvet curtain opening to reveal a secret. I could hear the gentle sizzle as the dough settled, a rhythmic drumbeat that promised decadence. The texture was a paradox: the base was dense and fudgy, while the candy toppings offered a playful crunch that crackled like fresh snow underfoot. Each bite was a symphony of melt‑in‑your‑mouth chocolate, a burst of sugary delight, and a satisfying snap that made my ears ring with joy. The first taste was a confession—my tongue was already planning a second round.
What makes this version stand out is that it’s not just a brownie; it’s a layered confection that invites you to indulge in every bite. The secret lies in the combination of pre‑made brownie mix with a medley of candies that each bring their own flavor and texture to the table. I dare you to taste this and not go back for seconds—your palate will be forever changed. Most recipes get this completely wrong by ignoring the importance of candy placement and baking time. The result is a brownie that feels like a warm hug wrapped in a candy-coated blanket. If you’ve ever struggled with bland brownies, you’re not alone—and I’ve got the fix.
Picture yourself pulling this out of the oven, the whole kitchen smelling incredible, and the moment the first slice falls into your hand, you know you’re holding a piece of edible art. The next step? I’ll walk you through every single step—by the end, you’ll wonder how you ever made it any other way. This is hands down the best version you'll ever make at home, and it’s going to become a staple in your dessert repertoire. Let the adventure begin.
What Makes This Version Stand Out
- Flavor: The blend of fudge brownie mix and chocolate chips creates a deep, chocolatey base that feels indulgent yet balanced. The sweet and slightly salty candies add layers of contrast, preventing the dessert from feeling one‑dimensional.
- Texture: The chewy brownie core is offset by crunchy Rolos and M&Ms, while the peanut butter cups provide a creamy counterpoint that melts into the batter. The sprinkles add a final pop of color and a light, airy bite that keeps the experience fresh.
- Simplicity: No complex measurements, no fancy equipment—just a box of brownie mix and a handful of candies. This recipe is perfect for anyone who wants to whip up a show‑stopping dessert in under 45 minutes.
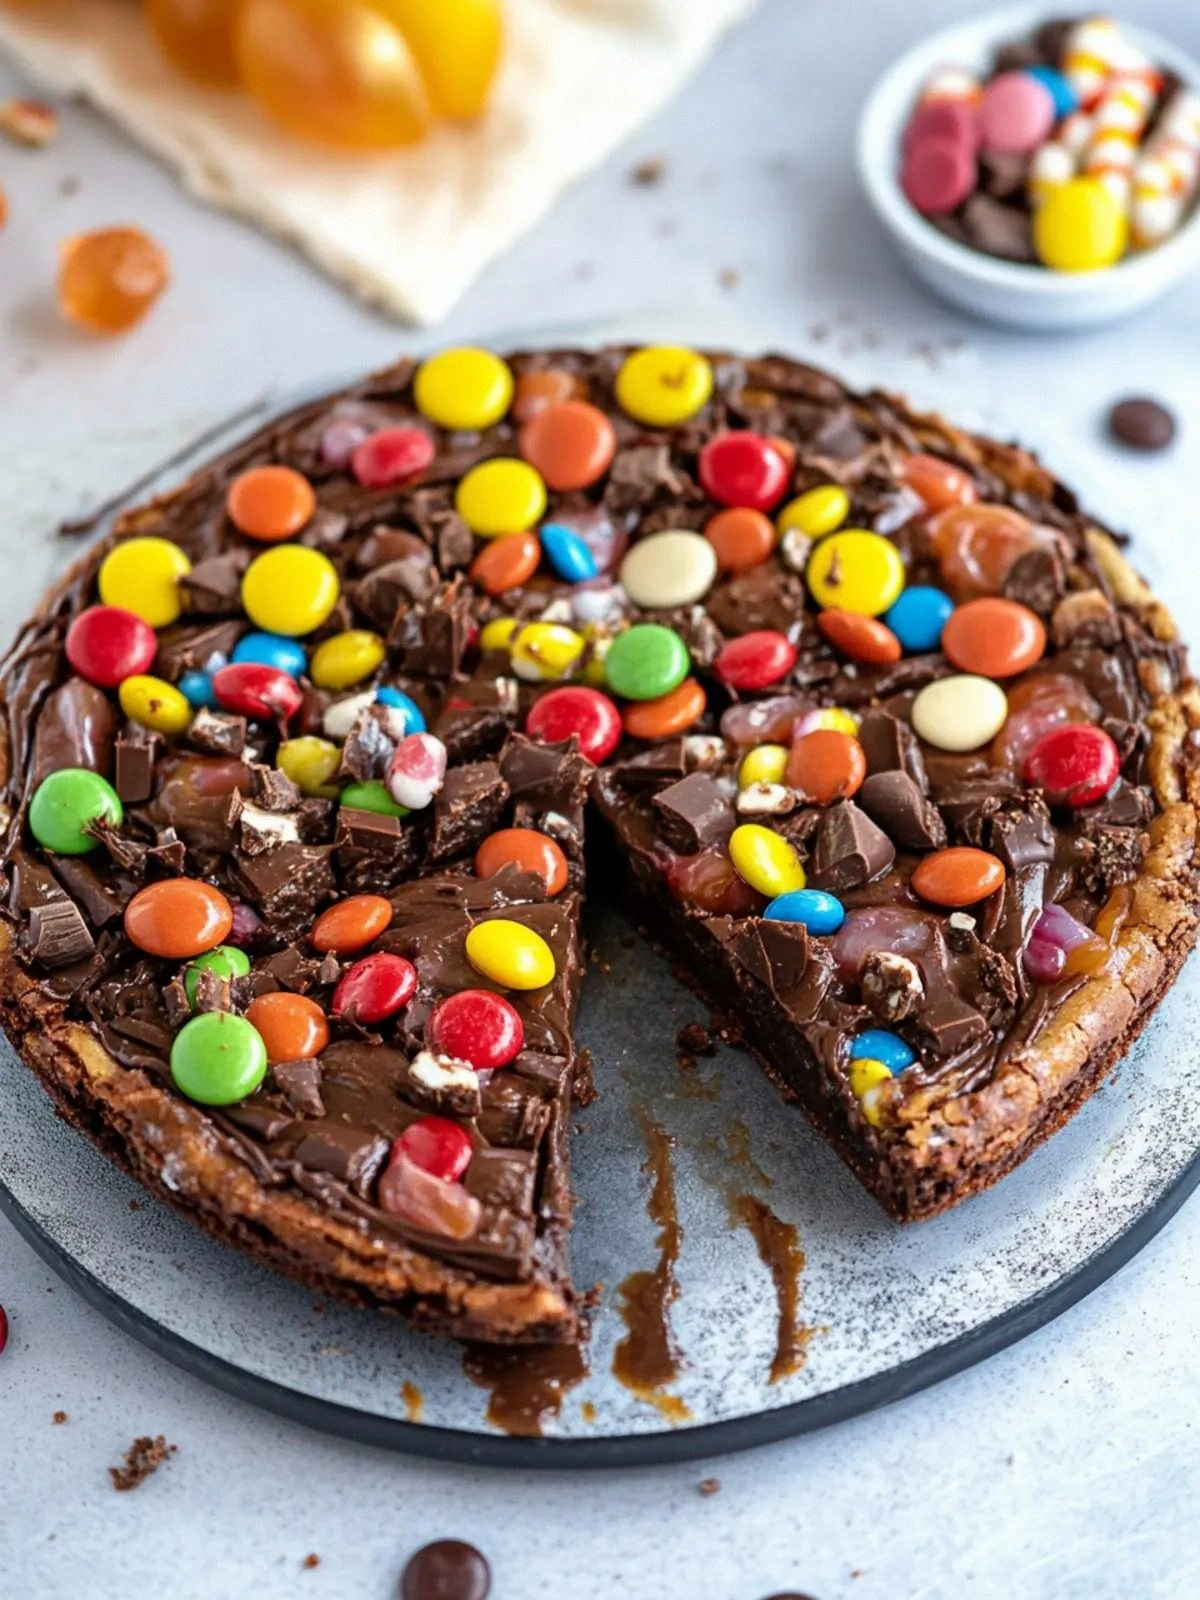
- Uniqueness: By turning a classic brownie into a candy pizza, you’re offering a playful twist that feels both nostalgic and novel. The visual appeal is a showstopper that will impress guests before they even taste it.
- Crowd Reaction: The first bite sparks a chorus of “wow” from friends and family, and the second bite keeps them coming back for more. This dessert is a guaranteed conversation starter at parties or family gatherings.
- Ingredient Quality: Using premium chocolate chips and high‑quality candy ensures each bite is bursting with flavor. The quality of the brownie mix also plays a crucial role in the overall taste profile.
- Make‑Ahead Potential: This dessert can be prepared a day ahead, allowing the flavors to meld. When reheated, it still delivers that same gooey center and crunchy edges.
Inside the Ingredient List
The Flavor Base
The foundation of this dessert is the fudge brownie mix, which brings a rich, chocolatey core that feels both comforting and luxurious. Its pre‑measured proportions mean you can skip the guessing game of mixing dry ingredients, ensuring consistent results every time. If you skip it, the dessert loses its deep chocolate backbone, turning it into a sugary mess.
The chocolate chips add a burst of molten chocolate that oozes through the batter as it bakes. They also provide a subtle crunch that contrasts with the soft brownie interior. A good rule of thumb: use high‑quality chips for the best flavor; cheaper options can taste chalky or lack depth.
The Texture Crew
The Rolos add a chewy, caramel‑laden bite that sticks to your teeth and lingers on your tongue. They also bring a nostalgic element that resonates with anyone who grew up munching on these iconic sweets. If you’re looking for a different chewy texture, you can swap Rolos for chewy chocolate bars.
M&Ms provide a colorful, crunchy pop that brightens the dessert visually and adds a playful element. Their candy shell protects the chocolate inside during baking, preventing them from melting entirely. If you prefer a less sugary bite, consider using dark M&Ms or chocolate‑only M&Ms.
The Unexpected Star
Malted Milk Balls are the secret weapon that introduces a unique malted flavor and a surprising texture. They also act as a bridge between the fudgy brownie and the candy toppings, creating a harmonious mouthfeel. Skipping them would result in a dessert that feels less complex.
The small peanut butter cups add a creamy, salty counterpoint that balances the sweetness. They also melt slightly into the batter, creating pockets of rich peanut butter that surprise each bite. For a nutty twist, try using almond butter cups or a sprinkle of crushed nuts.
The Final Flourish
Sprinkles are the finishing touch that gives the dessert a festive, carnival vibe. They add a light, airy crunch that doesn’t overpower the other flavors. If you’re looking to reduce sugar, you can sprinkle a few crushed nuts or edible gold dust instead.
Everything's prepped? Good. Let's get into the real action.
The Method — Step by Step
- Preheat your oven to 350°F (175°C). Line a 9×13-inch baking pan with parchment paper to prevent sticking. This is the moment of truth: the oven’s heat will bring the batter to life. Make sure the pan is clean; any residue can affect the texture.
- In a large bowl, combine the fudge brownie mix with the chocolate chips. Stir until the chips are evenly distributed; this ensures a uniform chocolate flavor throughout. The batter should be thick yet pourable, like a rich custard.
- Add the Rolos and M&Ms to the batter, folding gently so that the candies are coated but not crushed. This step is critical for maintaining the integrity of the candies; they should stay whole for that satisfying crunch. If you overmix, the candies may break apart.
- Pour the batter into the prepared pan, smoothing the surface with a spatula. The batter should spread evenly across the pan, creating a uniform base for the toppings. A slight wobble is normal; the batter will settle as it bakes.
- Bake for 20 minutes, or until the edges pull away from the pan and the center is set but still slightly jiggly. The sizzle and aroma that fill the kitchen are the first clues that everything is working. Keep an eye on the top; you want a golden crust, not a burnt one.
- Remove the pan from the oven and immediately press the malted milk balls into the center, ensuring they’re embedded in the batter. This step is tricky because the batter is hot; a quick, firm press will lock the balls in place. If you wait too long, the balls may sink.
- Place the small peanut butter cups on top of the malted milk balls, spacing them evenly. This creates a sweet‑salty contrast that will melt into the batter as the dessert cools. Be careful not to overcrowd; you want each cup to be visible.
- Sprinkle the final layer of sprinkles over the peanut butter cups, pressing lightly so they adhere to the batter. The sprinkles add a pop of color and a subtle crunch that completes the dessert’s visual appeal. Avoid over‑sprinkling; you want a balanced look.
- Return the pan to the oven and bake for an additional 5 minutes to set the sprinkles and ensure the candy toppings are fully integrated. The final aroma should be a sweet, caramelized scent that fills the kitchen. When the timer rings, let the dessert cool for 15 minutes before slicing.
- Once cooled, lift the dessert from the pan using the parchment edges. Slice into squares or wedges, and serve immediately. The first bite is a revelation—sweet, chewy, and perfectly balanced. If you’re feeling adventurous, drizzle a little hot fudge on top for an extra layer of decadence.
That’s it—you did it. But hold on, I’ve got a few more tricks that will take this to another level. These insider tips are the secret sauce that turns a good dessert into a legend.
Insider Tricks for Flawless Results
The Temperature Rule Nobody Follows
Oven temperature is the backbone of a perfect brownie. Even a slight deviation can result in a dry center or a soggy crust. I’ve found that setting the oven to 350°F and letting it preheat for 10 minutes gives a consistent bake. If your oven runs hot, lower the temperature by 25°F to avoid over‑browning.
Why Your Nose Knows Best
The smell of a brownie baking is a reliable indicator of doneness. When the scent is rich and chocolatey with a hint of caramel, the brownies are ready. A sharp, sweet scent often means they’re still raw inside. Trust your nose, and you’ll never over‑bake again.
The 5-Minute Rest That Changes Everything
After removing the pan, let the brownie rest for 5 minutes before cutting. This allows the batter to set, preventing the pieces from falling apart. The rest also lets the chocolate chips melt into the center, creating a silky texture. Skipping this step results in a crumbly, uneven dessert.
The Candy Placement Trick
Press candies into the batter at the right moment—just after the first 20 minutes of baking—so they’re embedded but not fully cooked. This timing ensures the candies retain their crunch and flavor. A friend once tried this trick too early, and the candies were mushy and unappealing.
The Final Touch of Sprinkles
Sprinkling the final layer of sprinkles just before the last 5 minutes of baking locks them into place and gives them a glossy finish. The sprinkles also add a subtle crunch that contrasts with the chewy brownie. If you prefer a more subtle look, use a single color of sprinkles instead of a rainbow.
Creative Twists and Variations
This recipe is a playground. Here are some of my favorite ways to switch things up:
Nutty Crunch Edition
Swap the Rolos and M&Ms for chopped almonds or pecans. Add a drizzle of honey after baking for a caramelized flavor. The nutty crunch complements the creamy brownie base and adds a protein boost.
Spiced Chocolate Surprise
Introduce a pinch of cayenne pepper or a splash of espresso powder to the batter. The heat or coffee undertone pairs wonderfully with the chocolate chips. This variation is perfect for those who love a subtle kick.
Caramel Swirl Delight
Fold in a swirl of caramel sauce before baking. The caramel layers add a buttery sweetness that pairs well with the malted milk balls. Serve with a scoop of vanilla ice cream for an indulgent treat.
Vegan Version
Use a dairy‑free brownie mix and vegan chocolate chips. Replace the peanut butter cups with vegan peanut butter bars. The result is a dessert that’s just as decadent but kinder to the planet.
Holiday Holiday
Replace the sprinkles with festive holiday-colored sugar crystals. Add a dusting of powdered sugar on top for a snowy finish. This version is perfect for holiday gatherings and adds a seasonal flair.
With these variations, you can keep the core of the recipe intact while exploring new flavor territories. The possibilities are endless, and the results are always delicious.
Storing and Bringing It Back to Life
Fridge Storage
Store the brownies in an airtight container at room temperature for up to 5 days. The airtight seal prevents the candies from drying out. If you prefer a firmer texture, keep them in the fridge, but avoid condensation by using a moisture‑absorbing packet.
Freezer Friendly
Wrap each brownie square individually in parchment paper, then place them in a freezer bag. They will stay fresh for up to 3 months. When you’re ready to serve, let them thaw at room temperature for 30 minutes before reheating.
Best Reheating Method
To reheat, place the brownies in a preheated oven at 300°F for 5 minutes. This gentle heat restores the fudgy center without burning the candy. Add a tiny splash of water before reheating; it steams the brownies back to perfection.
Enjoy your perfectly preserved, reheated treat any time you crave a sweet escape.