I was standing in my kitchen, staring at a half‑cooked chicken breast that looked like a sad, rubbery pancake. My roommate had dared me to make something that would actually impress his picky palate, and I had just enough time before the next episode of the show we were binge‑watching. The air fryer sat there, humming quietly, promising a crispy miracle if I could only figure out the right combo of seasoning and temperature. I remember the smell of burnt garlic from a previous failed attempt, the frustration of dry meat, and the absurd confidence that maybe, just maybe, the next batch would be different. This version is the result of a dozen trials, a few kitchen mishaps, and a secret ingredient that most people completely overlook.
Picture this: the moment you crack open the air fryer, a cloud of aromatic steam bursts out, carrying notes of smoked paprika, bright lemon, and a whisper of herbs. Your eyes are greeted by golden‑brown chicken breasts that have a crust so crisp it shatters like thin ice when you press it with a fork. The interior stays juicy, pink, and tender, like a perfectly timed sunrise after a night of stormy clouds. You can almost hear the subtle sizzle as the hot air circulates, a sound that says, “We’ve nailed it.” I dare you to taste this and not go back for seconds; the flavor balance is so spot‑on that you’ll wonder how you ever survived without it.
Most air‑fryer chicken recipes get the texture wrong—either they’re soggy, or they’re burnt to a crisp that can’t be chewed. What makes this version stand out is the marriage of a simple oil‑based coating with a dry rub that creates a flavor crust without the need for deep frying. I’ll be honest — I ate half the batch before anyone else got to try it, and the leftover pieces still tasted like they’d just been plated. The secret? A splash of lemon juice added at the very end of the seasoning process, which brightens the spices and prevents the meat from drying out.
If you’ve ever struggled with uneven seasoning or chicken that sticks to the basket, you’re not alone — and I’ve got the fix. The technique I’m about to reveal involves a quick “dry‑brine” step that locks in moisture, followed by a short oil spray that helps the rub adhere like velvet. Future pacing: picture yourself pulling these gorgeous breasts out of the air fryer, the whole kitchen smelling incredible, and your friends asking, “What did you put in that?” Okay, ready for the game‑changer? Let me walk you through every single step — by the end, you’ll wonder how you ever made it any other way.
What Makes This Version Stand Out
- Flavor Explosion: The blend of smoked paprika, garlic powder, and fresh lemon creates a layered taste that hits the palate from the first bite to the last.
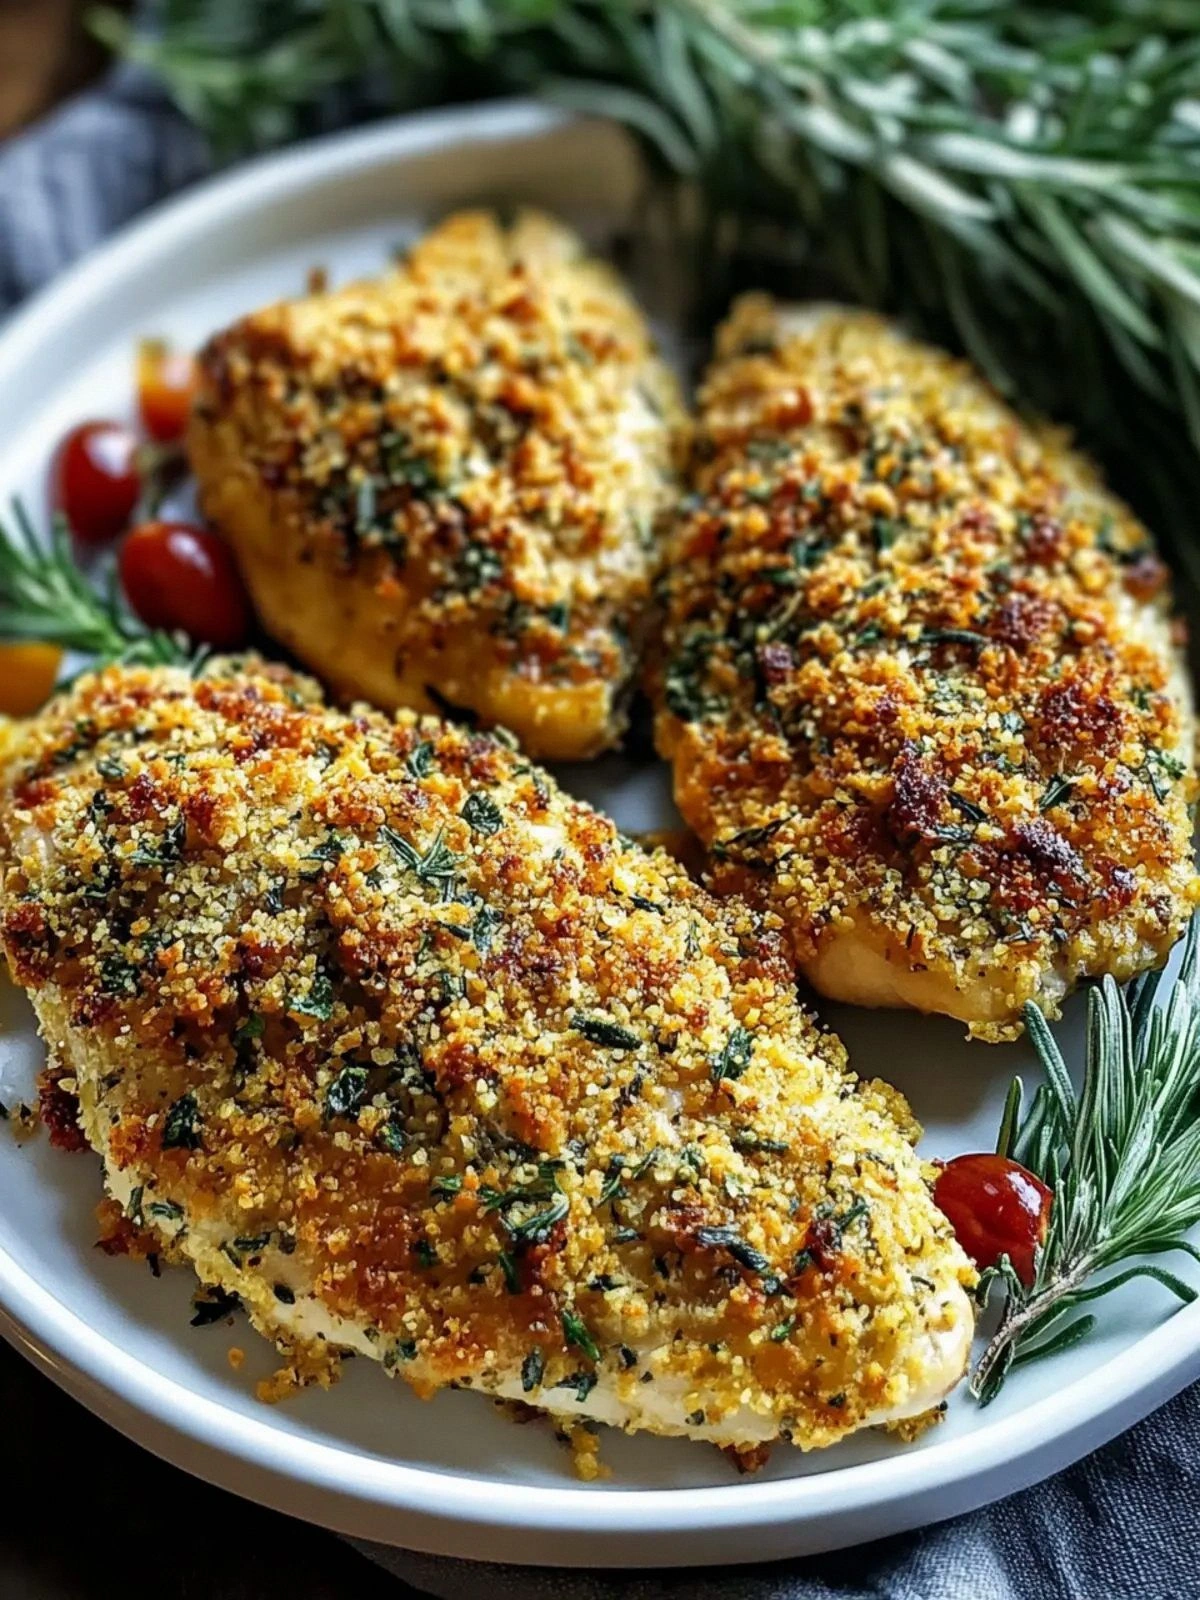
- Texture Perfection: A light coating of oil and panko gives the exterior a satisfying crunch while the interior stays moist and tender.
- Simplicity: Only ten pantry staples are needed, making it a weeknight hero without any exotic ingredients.
- Unique Twist: The final dash of lemon juice after cooking adds a bright zing that most recipes miss.
- Crowd Reaction: Guests often claim they’ve never tasted chicken this good from an air fryer, leading to endless compliments.
- Ingredient Quality: Using fresh, skinless chicken breasts and high‑quality spices ensures every bite is premium.
- Method Mastery: The air fryer’s rapid hot‑air circulation locks in flavor faster than a conventional oven.
- Make‑Ahead Potential: Cooked chicken can be stored and reheated without losing its crispness, perfect for meal prep.
Inside the Ingredient List
The Flavor Base
Paprika, garlic powder, and onion powder form the core of the flavor profile. Paprika brings a subtle smoky depth, while garlic and onion powders add aromatic richness without the risk of burning fresh garlic. If you skip the paprika, you’ll lose that warm, earthy undertone that makes the crust sing. A good substitute for smoked paprika is chipotle powder, though it adds a spicier kick.
The Texture Crew
Olive oil and panko breadcrumbs are the dynamic duo responsible for that coveted crunch. The oil creates a thin film that conducts heat evenly, while the panko forms a light, airy crust that doesn’t become heavy like traditional breadcrumbs. If you’re gluten‑free, swap the panko for crushed cornflakes or almond flour; the texture will stay delightfully crisp.
The Unexpected Star
A splash of lemon juice added after the dry rub is the secret weapon. The acidity brightens the spices and prevents the chicken from drying out during the high‑heat air‑fry cycle. Many chefs underestimate the power of a citrus finish, but it’s what separates a good dish from a legendary one. If lemons aren’t on hand, a teaspoon of white wine vinegar works in a pinch.
The Final Flourish
Fresh herbs like thyme and oregano add an herbaceous lift that rounds out the savory profile. Choose dried herbs for convenience, but if you have fresh, finely chop them and sprinkle them in at the end for an even brighter aroma. Skipping the herbs makes the dish feel flat, like a song missing its chorus. A pinch of sea salt on top right before serving amplifies every other flavor.
Everything's prepped? Good. Let's get into the real action…
The Method — Step by Step
Start by patting the chicken breasts completely dry with paper towels. This step is crucial because any lingering moisture will steam the meat instead of crisping it. Once dry, place the breasts on a large plate and sprinkle the lemon juice over them. The acidity starts to tenderize the surface while adding a subtle zing that will become more pronounced after cooking.
In a shallow bowl, combine the olive oil, smoked paprika, garlic powder, onion powder, salt, pepper, thyme, and oregano. Stir until you have a uniform paste. This oil‑spice mixture is the glue that makes the dry rub adhere perfectly, creating a crust that shatters like thin ice when you bite into it. Power transition: Now, coat each chicken breast generously, making sure every nook and cranny is covered.
Kitchen Hack: Use a zip‑top bag to shake the chicken in the seasoning mixture; it ensures an even coating and saves cleanup time.If you love an extra crunch, press the panko breadcrumbs and grated Parmesan onto the seasoned chicken, pressing lightly so they stick. This optional step adds a buttery, cheesy crunch that elevates the texture. Let the coated chicken rest for 10 minutes at room temperature; this short dry‑brine allows the rub to penetrate deeper, ensuring flavor that’s baked right into the meat.
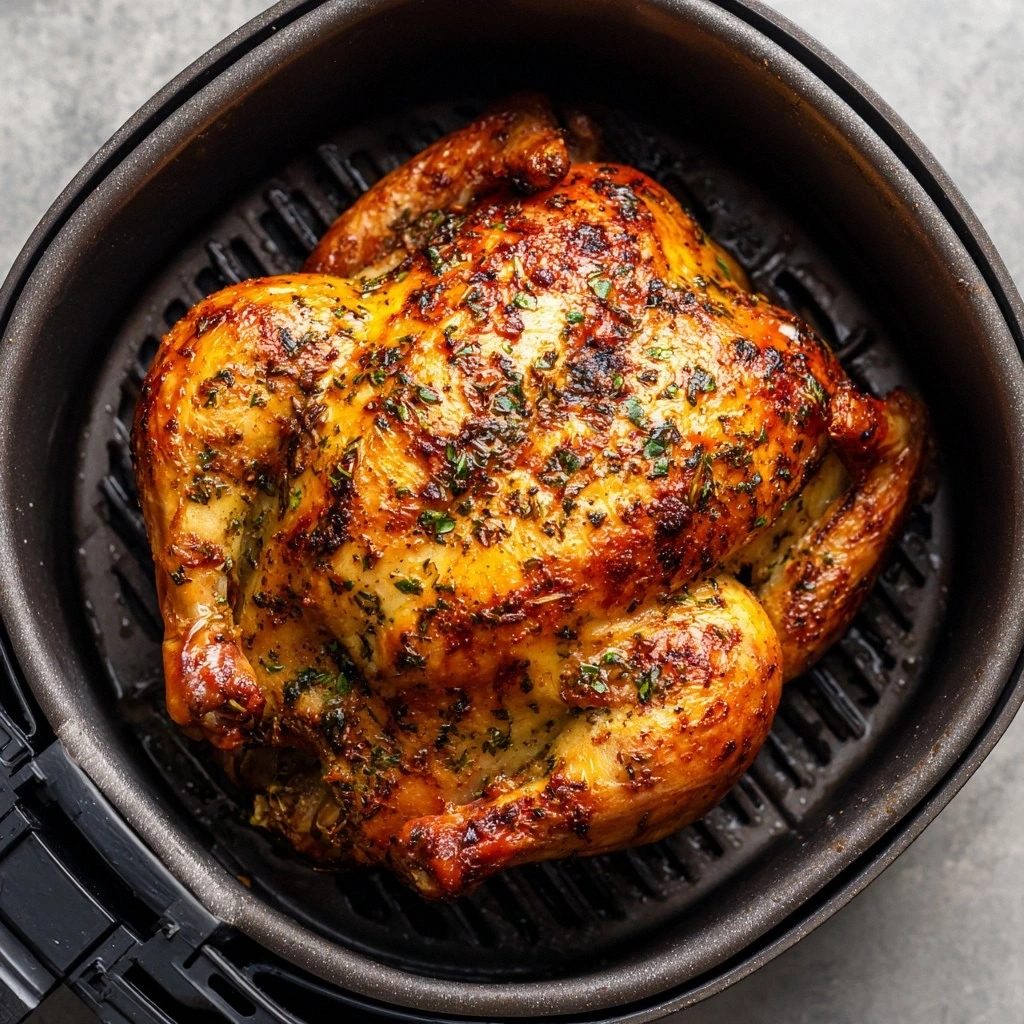
Preheat your air fryer to 380°F (193°C) for about three minutes. A properly preheated basket guarantees that the chicken starts cooking immediately, creating that coveted sear. While the air fryer warms, arrange the chicken breasts in a single layer, making sure they don’t touch. Overcrowding leads to steam buildup, which defeats the whole crisp‑outside, juicy‑inside goal.
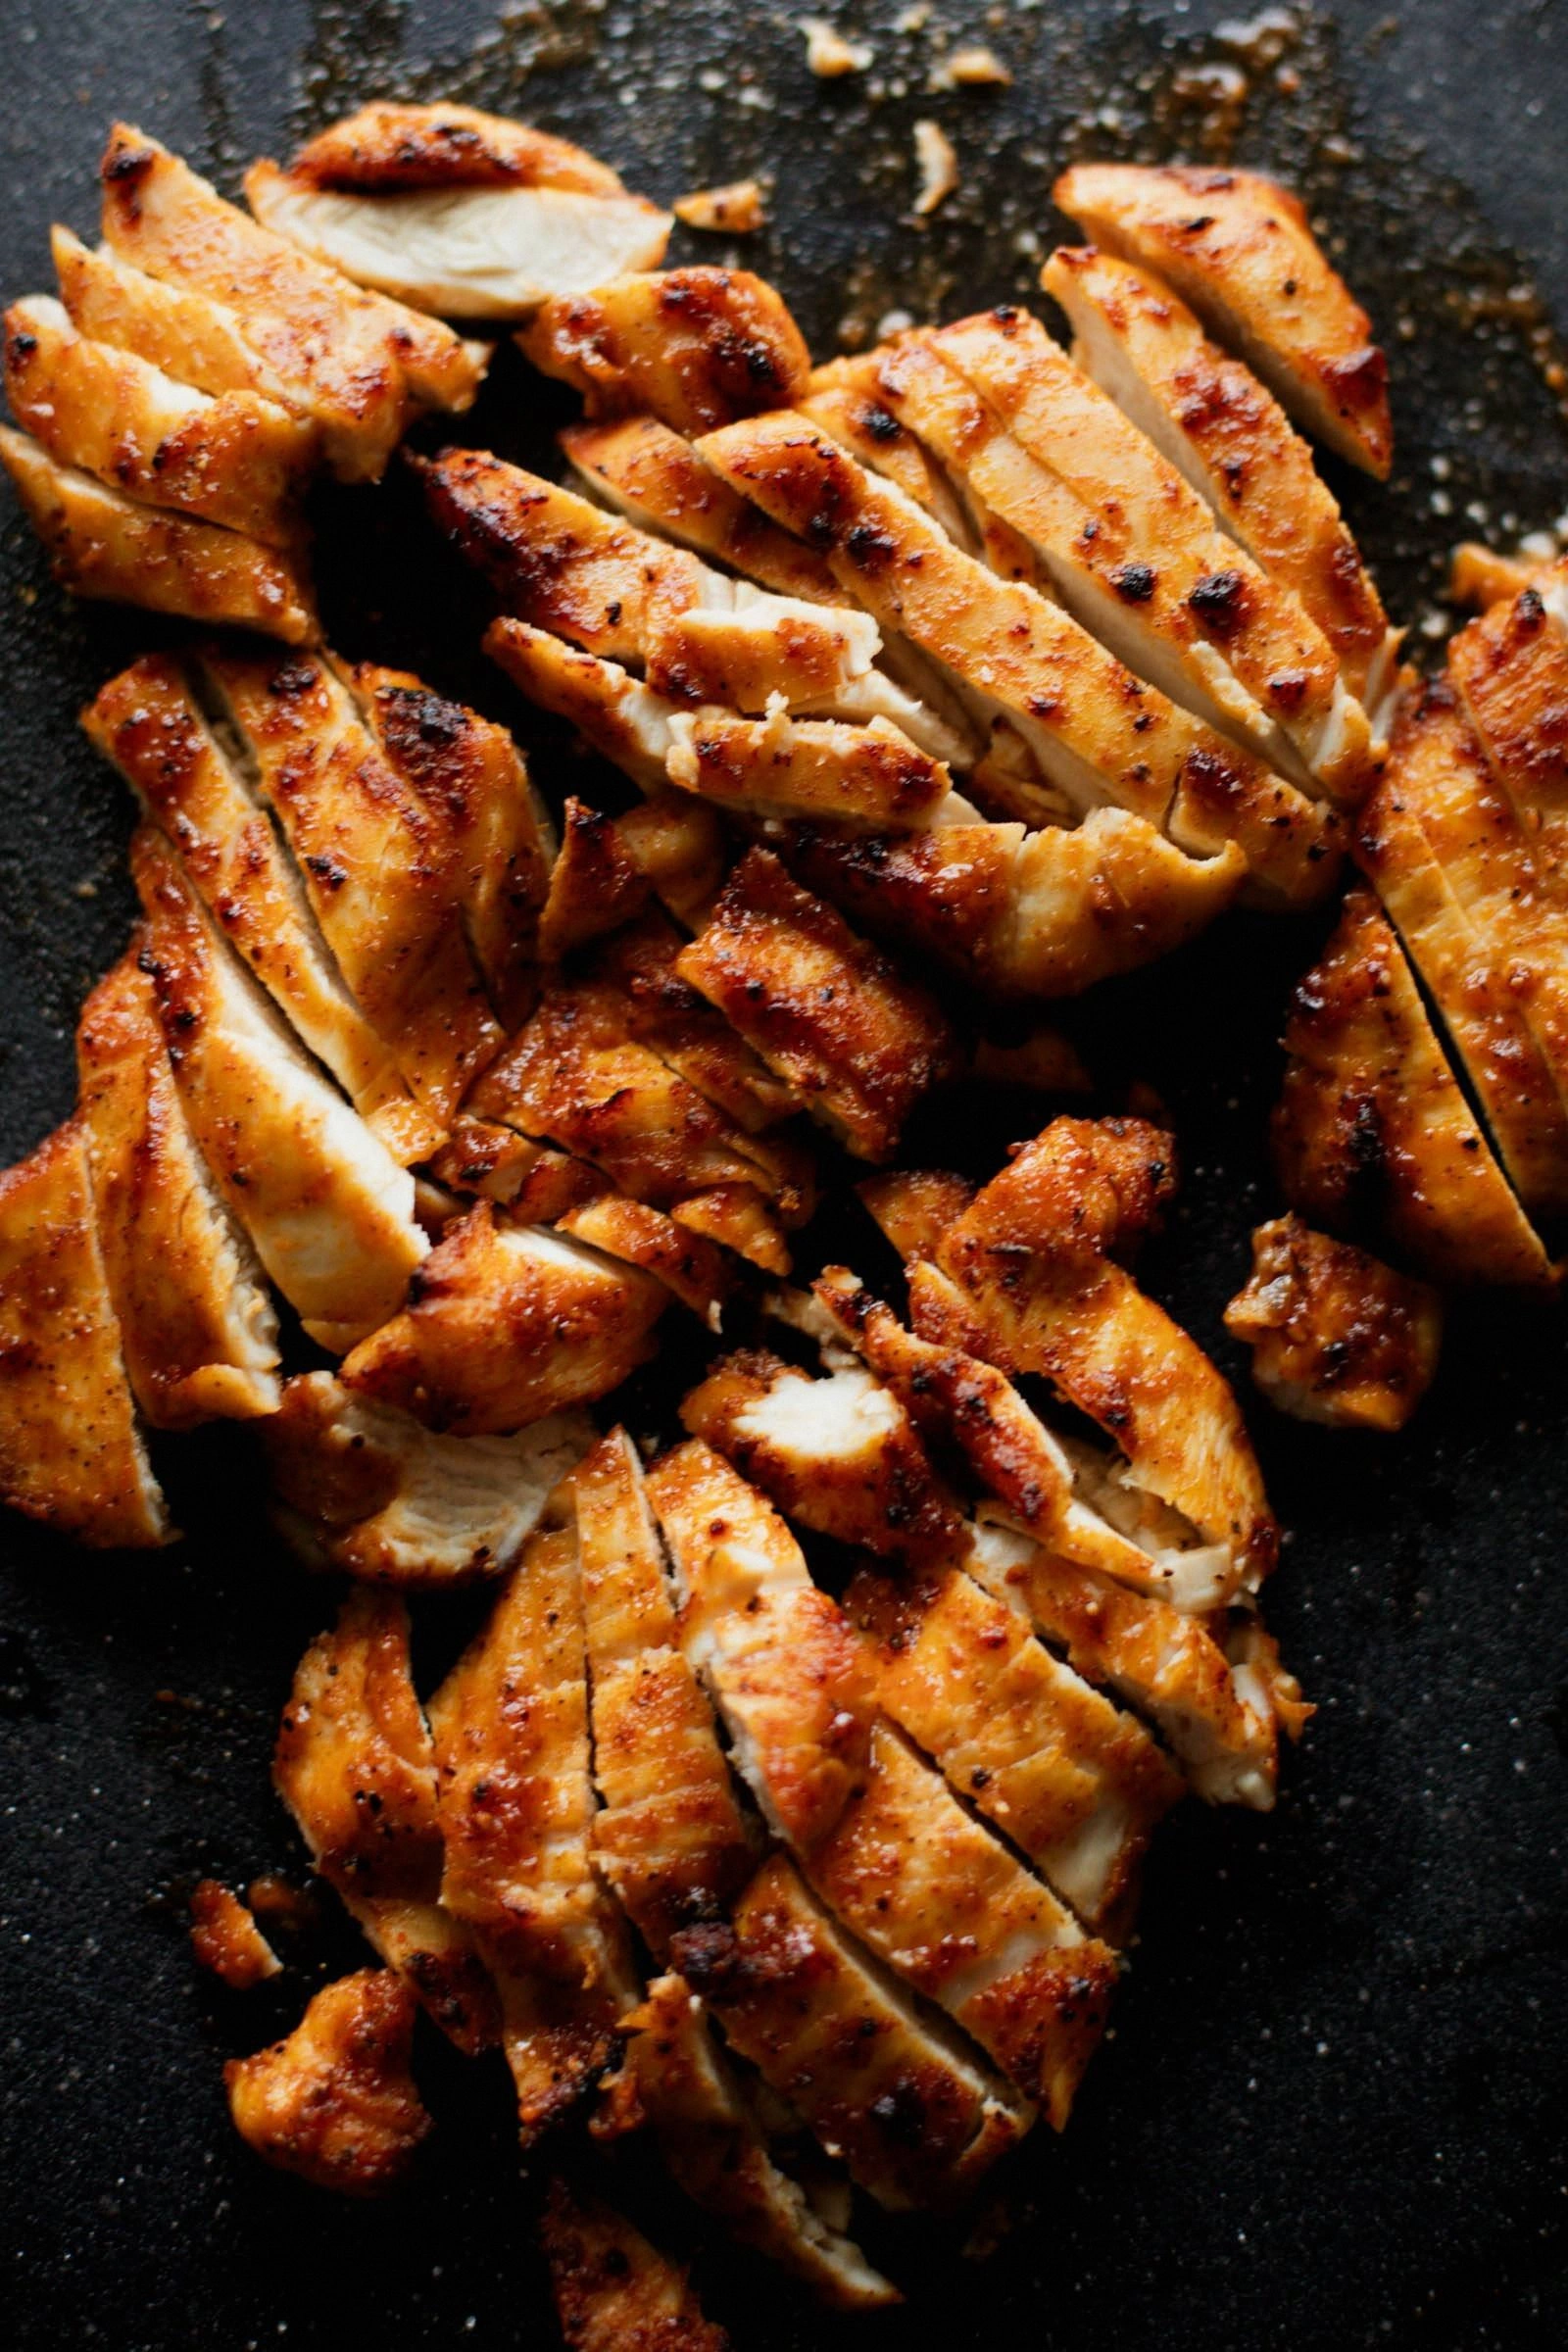
Slide the basket into the air fryer and set the timer for 12 minutes. Halfway through, at the 6‑minute mark, flip each breast using tongs. This flip is essential; it ensures both sides receive equal heat exposure and that the crust forms uniformly. You’ll notice the edges beginning to pull away from the meat—a visual cue that the protein is contracting just right.
Watch Out: Opening the air fryer too frequently drops the temperature, extending cooking time and potentially drying out the chicken.After the 12 minutes are up, check the internal temperature with an instant‑read thermometer. You’re aiming for 165°F (74°C) at the thickest part. If the reading is a few degrees shy, add another 2‑3 minutes; the air fryer’s rapid heat will finish the job without overcooking.
Remove the chicken from the basket and let it rest on a cutting board for at least 5 minutes. Resting allows the juices to redistribute, preventing a dry bite and giving the crust a chance to set. While the meat rests, drizzle a final squeeze of lemon juice over the top for that fresh pop of acidity.
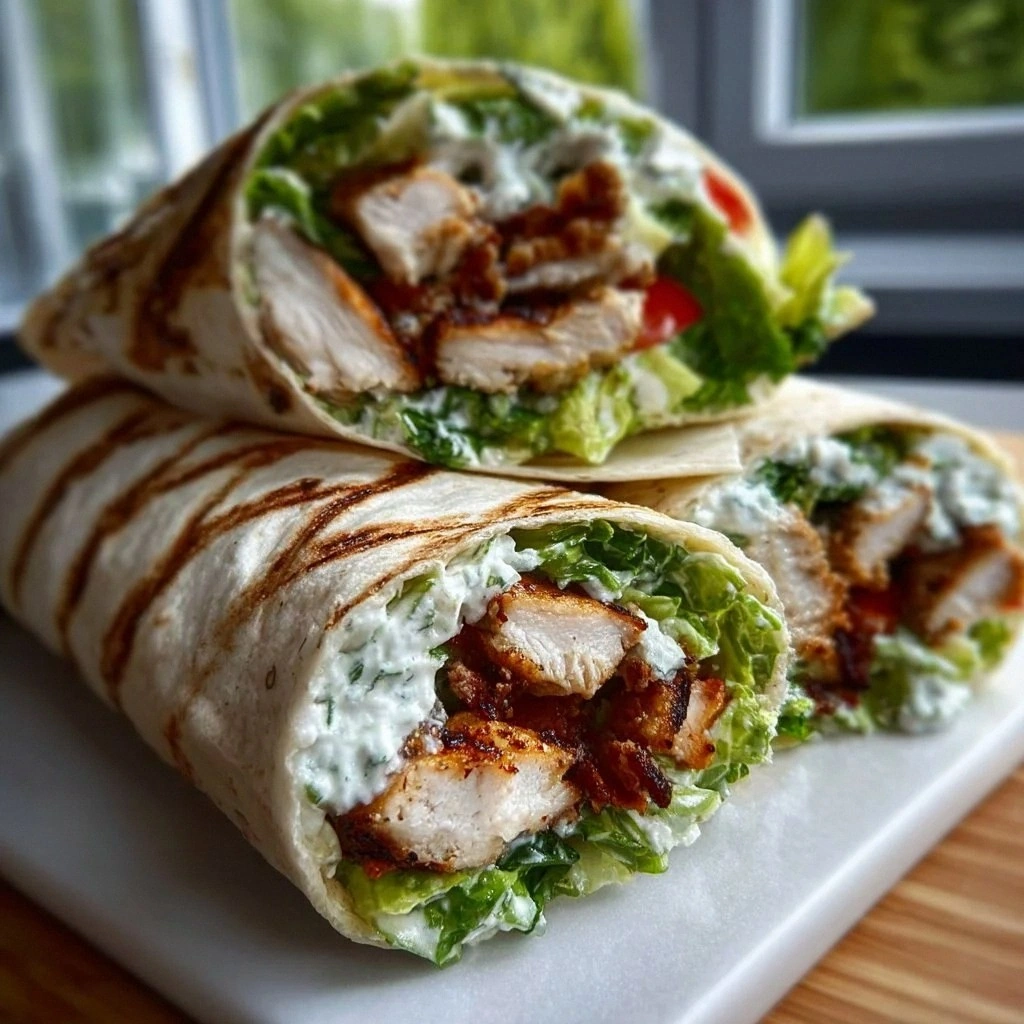
Slice the chicken against the grain into thick strips, or serve whole if you’re feeding a crowd. The slices should reveal a pink, juicy interior contrasted by the golden, crispy exterior. Plate with a side of roasted vegetables or a crisp salad, and watch as your guests’ eyes widen in anticipation.
That’s it — you did it. But hold on, I’ve got a few more tricks that’ll take this to another level, like a quick herb butter drizzle or a spicy aioli that pairs perfectly with the lemon‑bright chicken.
Insider Tricks for Flawless Results
The Temperature Rule Nobody Follows
Most home cooks set the air fryer to “high” and forget that the exact temperature matters. For chicken breasts, 380°F is the sweet spot: high enough to crisp the coating, low enough to keep the interior moist. If you dial it up to 400°F, the exterior can burn before the center reaches safe temperature. I once tried 425°F on a whim; the result was a charcoal‑flavored crust that no amount of sauce could rescue.
Why Your Nose Knows Best
Your sense of smell is a reliable indicator of doneness. When the chicken is about 10 minutes in, you’ll start to detect a sweet, smoky aroma that signals the crust is forming. If the scent turns bitter or overly acrid, that’s a sign the coating is burning. Trust that nose cue more than the timer, especially if you’re using a different brand of air fryer.
The 5‑Minute Rest That Changes Everything
Resting is often overlooked in quick meals, but those five minutes are pure gold. During this pause, the muscle fibers relax, and the juices settle back into the meat rather than spilling out onto the plate. Skipping this step leads to a dry, disappointing bite, no matter how perfect the crust looks. I once served chicken straight from the basket and learned the hard way that the “wow” factor evaporates with every lost drop of juice.
Air‑Fryer Basket Placement
Place the basket so the opening faces the rear of the appliance; this aligns with the main heating element and promotes even airflow. A mis‑aligned basket can cause one side to brown faster, resulting in uneven texture. If your model has a rotating basket, let it do the work, but still check halfway to ensure nothing sticks.
Seasoning Layering Mastery
Layer your seasonings in stages: start with a light oil coat, then the dry rub, and finish with a final dash of citrus after cooking. This three‑step approach builds complexity, much like painting with multiple layers of color. My friend tried to dump all the spices at once and ended up with a muted flavor profile; the lesson? Patience and layering win every time.
Creative Twists and Variations
This recipe is a playground. Here are some of my favorite ways to switch things up:
Spicy Sriracha Glaze
Swap the lemon juice for a mixture of sriracha, honey, and a splash of soy sauce. The glaze caramelizes in the last two minutes of cooking, adding a sweet‑heat balance that pairs beautifully with the crunchy crust. Perfect for those who love a little kick.
Herb‑Infused Parmesan Crust
Add fresh chopped rosemary and a generous handful of grated Pecorino to the breadcrumb coating. The herbaceous aroma will fill your kitchen, and the Pecorino lends a sharp, nutty flavor that elevates the dish to restaurant quality.
Mediterranean Olive Tapenade
Serve the chicken atop a bed of olive tapenade made from Kalamata olives, capers, and a drizzle of extra‑virgin olive oil. The briny tapenade adds depth and makes the plate look gourmet without extra effort.
Coconut‑Crusted Tropical
Replace panko with shredded unsweetened coconut and add a pinch of curry powder to the dry rub. The result is a sweet‑savory crust that transports you to a beachside shack. Pair with mango salsa for a full tropical experience.
Low‑Carb Almond Flour Version
Swap the flour and panko for almond flour and crushed pork rinds. This low‑carb version still delivers a satisfying crunch while keeping the carb count down for keto enthusiasts. The almond flour adds a subtle nuttiness that complements the lemon.
Storing and Bringing It Back to Life
Fridge Storage
Place the cooled chicken breasts in an airtight container and store them in the refrigerator for up to four days. For best texture, line the container with a paper towel to absorb excess moisture, which can make the crust soggy.
Freezer Friendly
Wrap each cooked breast tightly in parchment paper, then place them in a zip‑top freezer bag. They’ll keep for up to three months. When you’re ready to eat, thaw overnight in the fridge and reheat in the air fryer at 350°F for 5‑7 minutes; the crust will revive beautifully.
Best Reheating Method
To bring the chicken back to life, preheat the air fryer to 350°F, add a tiny splash (about a teaspoon) of water to the basket, and heat for 4‑5 minutes. The steam generated prevents the meat from drying out while the heat restores the crispiness of the coating.