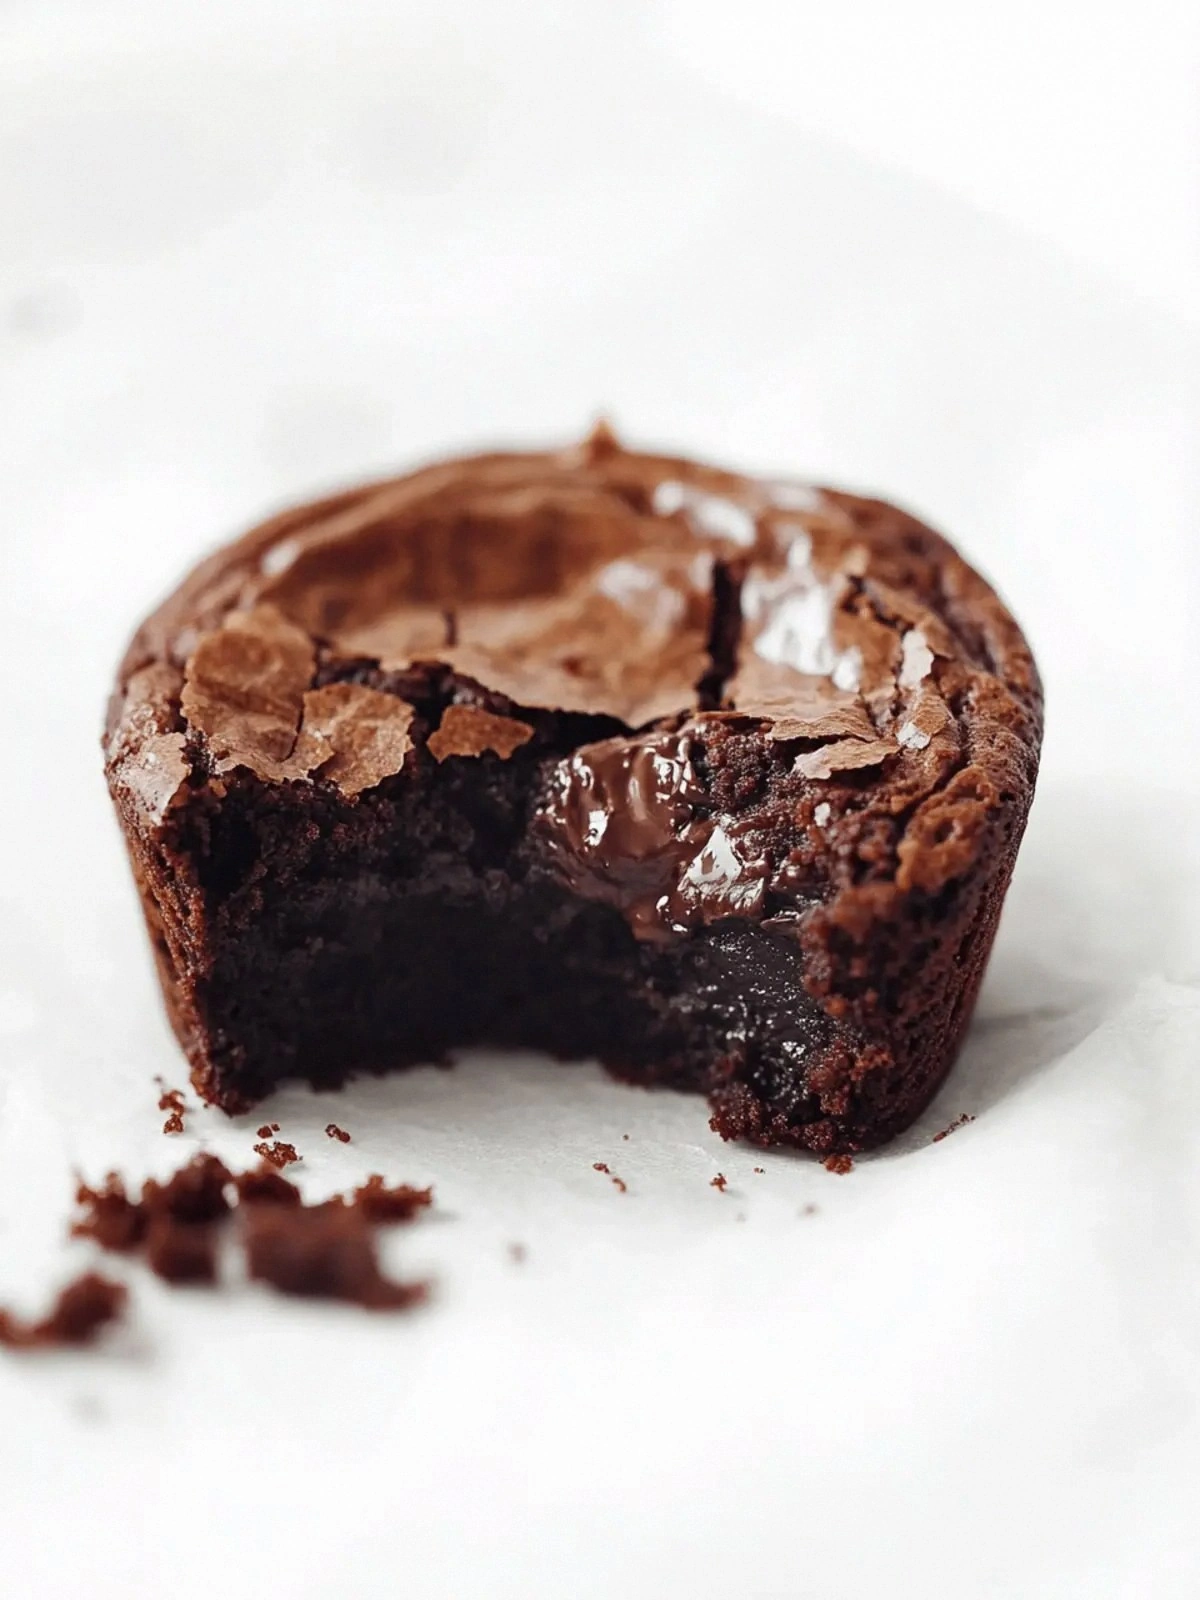
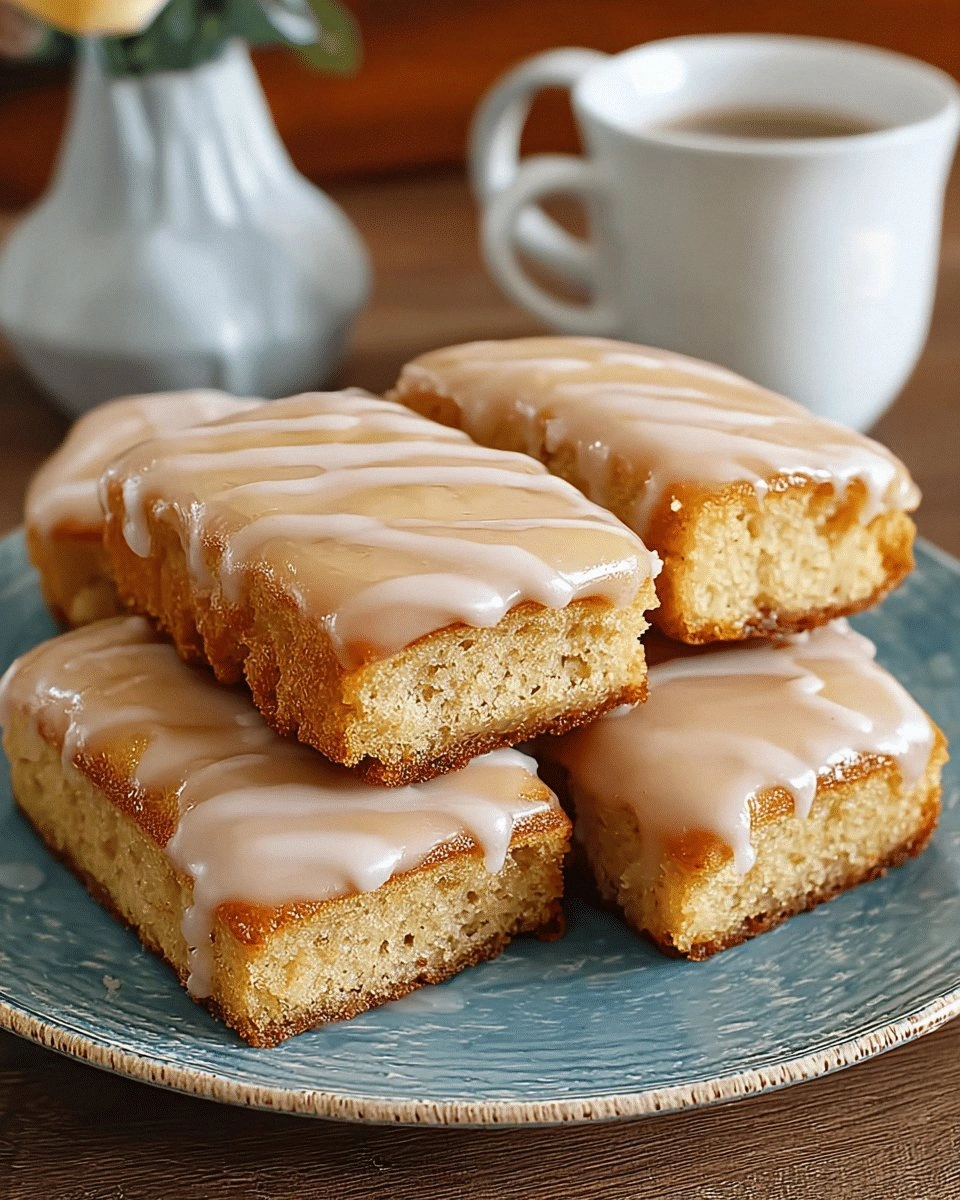
Picture this: the kitchen’s a battlefield after a Sunday brunch disaster, flour dusting the countertops like snow, a half‑baked cake that’s more brick than treat, and your best friend daring you to “make something that actually tastes good.” I stared at the soggy mess, swore I’d never cook again, then pulled out a recipe that turned the chaos into a sweet triumph. Soft Baked Maple Donut Bars. No, I’m not talking about the greasy, deep‑fried kind that you find at the corner shop; this is a baked, airy delight that feels like a donut on a cloud.
When I first tasted the first batch, the aroma of maple syrup and cinnamon flooded the air, and my taste buds did a little happy dance. The bars were light enough to break apart with a gentle bite, yet chewy enough to linger on the tongue like a memory of a childhood kitchen. The butter‑sugar base gave it that buttery richness, and the maple syrup added a depth that’s hard to find in most quick‑fix recipes. I was instantly hooked – I dared you to taste this and not go back for seconds, but I’ll be honest, I ate half the batch before anyone else got to try it.
What makes this version stand out from every other recipe out there? It’s the combination of a few simple, but game‑changing tweaks: a splash of maple syrup instead of vanilla, a dash of cinnamon, and a gentle fold of whole milk that keeps the bars moist without turning them soggy. I’ve spent years tweaking donut bars, and this one is hands down the best version you’ll ever make at home. If you’ve ever struggled with donut bars that come out dense or dry, you’re not alone – and I’ve got the fix. Picture yourself pulling this out of the oven, the whole kitchen smelling incredible, and knowing you’ve nailed the perfect donut‑bar experience.
Let me walk you through every single step — by the end, you’ll wonder how you ever made it any other way. From the moment you grab your ingredients to the final dusting of powdered sugar, I’ll share the secrets that elevate this recipe from simple to sensational. And trust me, the next part? Pure magic. Stay with me here — this is worth it.
What Makes This Version Stand Out
- Flavor: The maple syrup replaces traditional vanilla, giving the bars a warm, caramelized depth that lingers long after the last bite.
- Texture: A splash of whole milk keeps the batter moist, while the butter’s fat content creates a tender crumb that’s airy yet chewy.
- Ease: No need for a stand mixer; a whisk and a bowl are enough to bring together the batter in minutes.
- Versatility: Add nuts, chocolate chips, or a dusting of cinnamon for a quick flavor twist.
- Make‑Ahead: These bars bake once and stay fresh for a week; they’re perfect for breakfast on the go.
- Visual Appeal: The golden edges and slightly caramelized top give them a professional look that’s Instagram‑ready.
Alright, let’s break down exactly what goes into this masterpiece…
Inside the Ingredient List
The Flavor Base
All-purpose flour is the backbone of these bars. It gives the structure while remaining tender when combined with the right leavening agents. If you’re avoiding gluten, a 1:1 blend of gluten‑free flour and xanthan gum will work, but the texture will shift slightly. The key is to sift the flour to aerate it and avoid clumps that can lead to uneven baking.
The Sweet Core
Granulated sugar provides the classic sweetness, while light brown sugar adds a subtle molasses undertone that pairs beautifully with maple syrup. Skipping the brown sugar will result in a flatter flavor profile; keep it in for that extra depth. If you’re on a low‑sugar diet, consider a natural sweetener like stevia or monk fruit, but adjust the amount to taste.
The Maple Magic
Maple syrup is the star of the show, replacing vanilla for a richer, more complex taste. Use pure, 100% maple syrup for the best flavor; syrup that’s mixed with corn syrup will lose that authentic maple profile. If you can’t find maple syrup, a drizzle of honey or a splash of bourbon can mimic the caramel notes, but the experience won’t be the same.
The Texture Crew
Unsalted butter, softened to room temperature, provides the fat that keeps the bars tender. Whole milk adds moisture and a subtle tang; if you’re lactose intolerant, try oat milk or a dairy‑free alternative. Eggs bind the batter and contribute to the rise; if you’re vegan, flaxseed meal mixed with water can replace them.
The Unexpected Star
Ground cinnamon and a whisper of nutmeg add warmth and complexity. They’re subtle enough not to overpower the maple, but enough to give the bars a comforting, holiday‑like feel. If you prefer a spicier kick, a pinch of cayenne or ginger powder will surprise your palate.
The Final Flourish
Sea salt is essential for balancing the sweetness; without it, the bars will taste flat. Baking powder and baking soda give the batter lift and help it spread evenly in the pan. The combination of leavening agents ensures a light crumb that doesn’t collapse after cooling.
Everything's prepped? Good. Let's get into the real action…
The Method — Step by Step
- Preheat your oven to 350°F (175°C) and line a 9x13-inch baking pan with parchment paper. The parchment prevents sticking and makes cleanup a breeze. The oven temperature is critical; too hot and the bars will brown too quickly on top while remaining undercooked inside.
- In a large mixing bowl, whisk together the flour, baking powder, baking soda, and sea salt. Sifting the dry ingredients together creates a light, airy base that will help the bars rise evenly. If you’re a fan of a smooth crumb, add a tablespoon of cornstarch to the dry mix.
- In a separate bowl, beat the butter until creamy and soft. Add the granulated sugar and brown sugar, then whisk until the mixture is fluffy and pale. This step incorporates air into the batter, ensuring a lighter texture. If you’re in a hurry, a handheld mixer works just as well.
- Add the eggs one at a time, beating well after each addition. The eggs bind the batter and help it rise. Crack the eggs into a separate bowl first to avoid shell fragments; this also lets you check for freshness.
- Stir in the vanilla extract, maple syrup, and cinnamon until fully blended. The maple syrup should be evenly distributed; you’ll notice a sweet aroma rising as you stir. This is the moment of truth – the batter should look glossy and silky.
- Gradually fold in the dry ingredients, mixing just until no streaks remain. Over‑mixing can develop gluten and make the bars tough. If the batter seems too thick, add a splash of milk to reach a spreadable consistency.
- Pour the batter into the prepared pan, spreading it evenly with a spatula. The batter should level out to a thickness of about 1.5 inches. The edges will begin to pull away from the parchment as you spread.
- Bake for 25–30 minutes, or until the top is golden brown and a toothpick inserted into the center comes out clean. The bars should smell toasty, and the edges will start pulling away from the parchment. Keep an eye on the color; the maple syrup can cause quicker browning.
- Let the bars cool in the pan for 10 minutes before cutting. This allows the structure to set, preventing crumbling. After 10 minutes, transfer the bars to a wire rack to cool completely.
- Once cooled, dust the top with powdered sugar or a light glaze made from powdered sugar and maple syrup. This adds a sweet finish and a glossy look. Store the bars in an airtight container for up to a week.
That’s it — you did it. But hold on, I’ve got a few more tricks that’ll take this to another level…
Insider Tricks for Flawless Results
The Temperature Rule Nobody Follows
Most bakers set the oven to 375°F, but that can scorch the maple glaze before the center cooks. I’ve found 350°F gives a golden top without burning. If your oven runs hot, set it to 325°F and add a few extra minutes. The bars will stay tender and evenly browned.
Why Your Nose Knows Best
When the bars are baking, you’ll notice a sweet, caramel aroma rising. That scent is a cue that the sugar is caramelizing just right. If the smell is weak, the oven temperature is too low; if it’s overpowering, the bars may be overbaked.
The 5‑Minute Rest That Changes Everything
After removing the bars from the oven, let them sit for 5 minutes before cutting. This short rest allows the steam to redistribute, preventing the bars from crumbling. It also lets the maple glaze set into a glossy finish.
The Perfect Dusting
A light dusting of powdered sugar not only adds sweetness but also creates a subtle sheen that’s visually appealing. If you prefer a darker finish, drizzle a thin glaze made from maple syrup and powdered sugar. The glaze will harden slightly, giving the bars a shiny, professional look.
The “Do Not Overmix” Rule
Once you add the dry ingredients to the wet, mix just until combined. Over‑mixing can develop gluten, resulting in a dense crumb. A gentle fold preserves the batter’s airy texture and ensures a light bite.
Creative Twists and Variations
This recipe is a playground. Here are some of my favorite ways to switch things up: Add chopped pecans or walnuts for a nutty crunch; sprinkle a dash of espresso powder for a mocha twist; replace maple syrup with honey for a floral note; stir in dark chocolate chips for a decadent surprise; or fold in shredded coconut for a tropical vibe. Each variation gives the bars a new personality while keeping the core of softness and maple sweetness intact.
Storing and Bringing It Back to Life
Fridge Storage
Store the bars in an airtight container in the refrigerator for up to 5 days. The cold environment preserves the moisture without drying out the crumb. Before serving, let them sit at room temperature for 10 minutes to soften slightly.
Freezer Friendly
Wrap each bar individually in plastic wrap, then place them in a freezer‑proof bag. They’ll keep for up to 3 months. To thaw, leave them in the fridge overnight or microwave on low power for 15–20 seconds. A quick dusting of powdered sugar can revive the fresh look.
Best Reheating Method
Reheat the bars in a 300°F oven for 8–10 minutes, or until warmed through. For a crispier top, place them on a baking sheet and bake for an additional 2 minutes. If you prefer a softer bite, microwave for 20–25 seconds. Add a tiny splash of water before reheating to create steam that restores the bars’ original moistness.