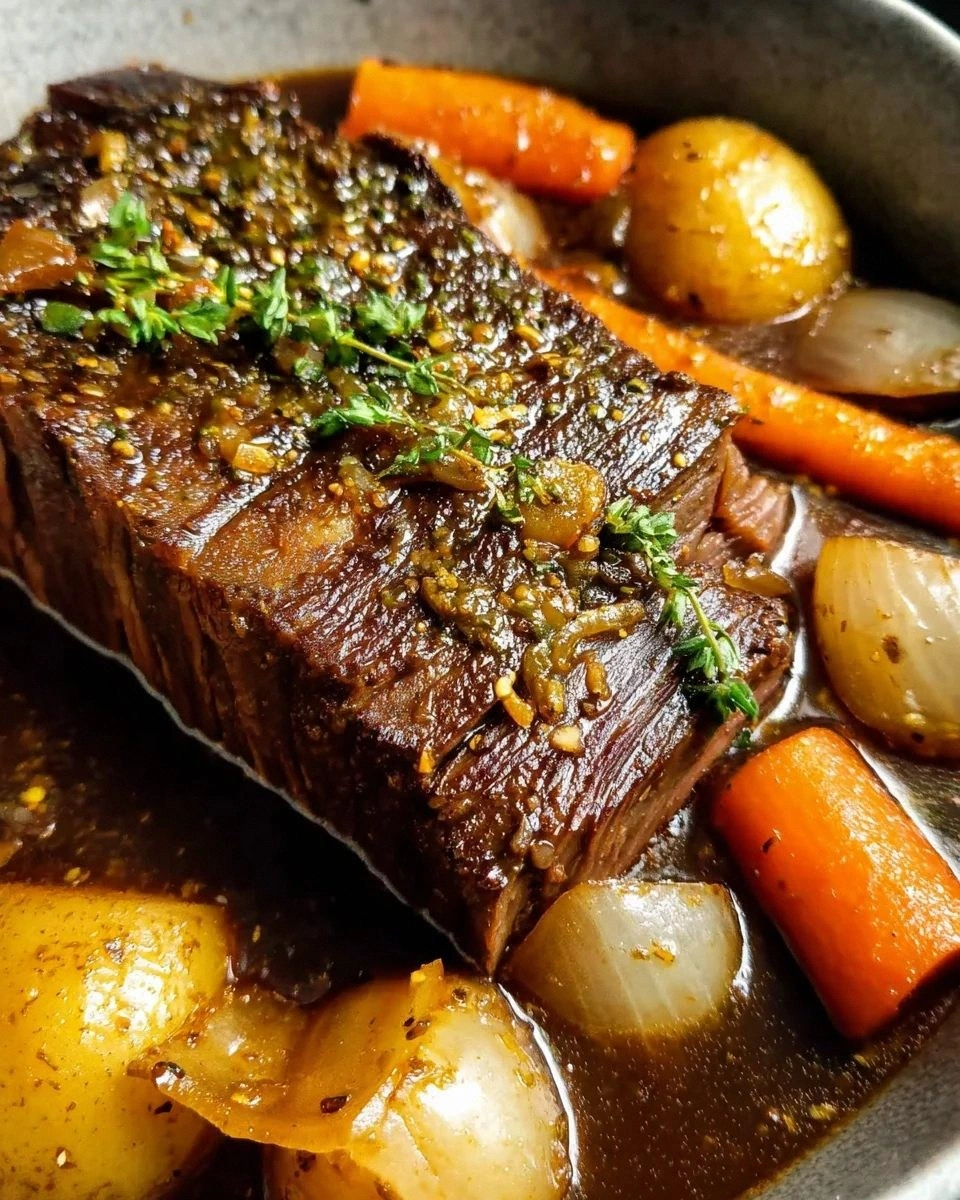
Now, imagine pulling this out of the pan, the whole kitchen smelling incredible, and the steam curling up like a savory cloud. The moment you close the wrap, the heat locks in the flavors, creating a bite that’s both juicy and crispy. The next step? Let me walk you through every single step—by the end, you’ll wonder how you ever made it any other way. Let’s dive in.
What Makes This Version Stand Out
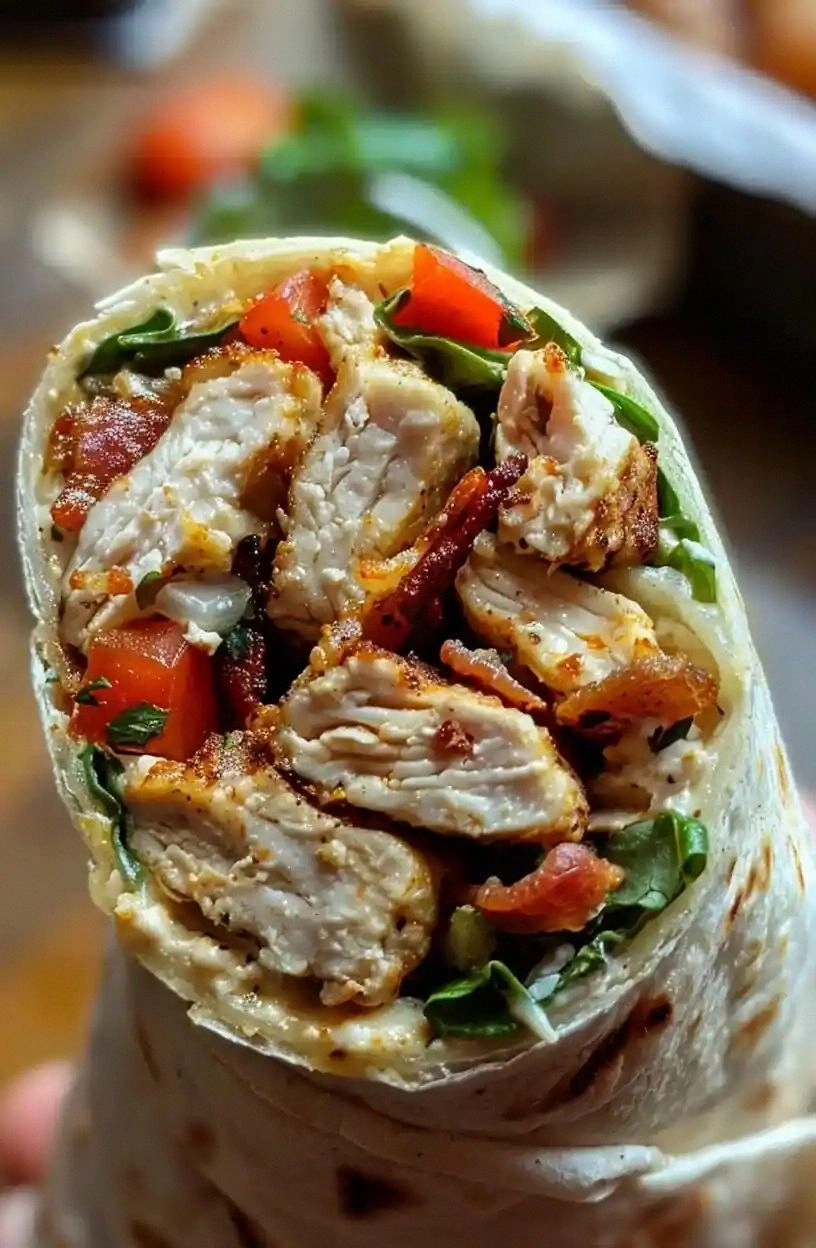
- Flavor: The combination of ranch, cheddar, and bacon creates a layered taste that’s creamy, salty, and slightly sweet, turning a simple wrap into a gourmet experience.
- Texture: The crisp bacon, crunchy lettuce, and melt-in-your-mouth chicken contrast beautifully, giving each bite a satisfying bite and a silky finish.
- Ease: Every ingredient is pre‑cooked or ready to go, so you can assemble the wrap in under 10 minutes—perfect for busy weeknights.
- Customization: Swap the chicken for grilled shrimp or tofu, replace cheddar with pepper jack, or use a spinach tortilla for a green twist—this recipe adapts to any palate.
- Visual Appeal: The vibrant red of the tomatoes and the golden crust of the tortilla make the wrap look as good as it tastes, ideal for Instagram-worthy meals.
- Make‑ahead Potential: Prepare the filling ahead of time; store it in the fridge, and simply reheat the tortilla when you’re ready to serve.
Alright, let’s break down exactly what goes into this masterpiece…
Inside the Ingredient List
The Flavor Base
The ranch dressing is the soul of this wrap. Made with a blend of buttermilk, fresh dill, and a whisper of garlic, it coats the chicken and bacon with a creamy, tangy blanket that’s almost velvet. If you’re craving a healthier version, swap the ranch for a low‑fat Greek yogurt dip; the tang remains, but the calories drop. Remember, the quality of the ranch matters—store‑bought versions often contain preservatives that can dull the flavor. For the best experience, make your own or choose a brand that lists real ingredients first.
The Texture Crew
Crispy bacon is the crunch factor that keeps the wrap exciting. Slice the bacon into thin strips before cooking, then let it crisp in a pan until it’s golden and slightly caramelized. If you’re a fan of extra crunch, finish the bacon in the oven at 400°F for a few minutes to remove excess fat. The chicken, meanwhile, should be shredded or diced into bite‑size pieces so it warms evenly and mixes with the ranch. If you’re short on time, use rotisserie chicken from the grocery store; it’s already seasoned and cooked.
The Unexpected Star
Fresh diced tomatoes add a burst of juiciness that cuts through the richness of the ranch and bacon. The acidity balances the flavors, and the moisture prevents the wrap from feeling dry. For a smoky twist, consider adding a pinch of smoked paprika to the tomatoes. If you’re dealing with a rainy day and the tomatoes are watery, pat them dry with a paper towel before dicing to keep the wrap from becoming soggy.
The Final Flourish
Shredded cheddar cheese brings a creamy, melty component that ties everything together. The cheese should melt just enough to coat the filling without overpowering the ranch. If you’re a cheese lover, add a sprinkle of sharp cheddar or a dash of parmesan for extra depth. The lettuce offers a fresh, crisp bite that keeps the wrap from becoming too heavy; choose romaine or iceberg for the best crunch.
Everything’s prepped? Good. Let’s get into the real action…
The Method — Step by Step
- Heat a large skillet over medium heat. Toss in the bacon strips and cook until they’re crisp and golden, about 5-7 minutes. Flip halfway through to ensure even cooking. Once done, transfer the bacon to a paper‑towel‑lined plate to drain excess grease. The bacon should be squeaky and fragrant—if it’s still soft, you’re missing the crunch factor.
- While the bacon cooks, warm the tortillas. Place each tortilla in a dry pan over low heat for 15-20 seconds on each side. The goal is to soften the tortilla and create a slight browning without burning it. This step locks in moisture and prevents the wrap from becoming soggy once the filling is added.
- In the same skillet, add the shredded chicken. Spread it out in a single layer and let it sear for 2 minutes before stirring. The chicken should be lightly browned on the edges, giving it a subtle caramelized flavor. This quick sear adds depth to the dish and ensures the chicken stays juicy.
- Add the diced tomatoes and chopped red onion to the skillet. Cook for 1-2 minutes until the onion softens slightly and the tomatoes release their juices. The mixture should smell like summer, with a hint of sweet onion. This step brings a fresh brightness that balances the richness.
- Stir in the ranch dressing and shredded cheddar. Mix until the cheese melts and coats the filling. The sauce should be glossy and creamy, not thick or dry. This creates a silky coating that holds the wrap together when folded.
- Add the crispy bacon back into the skillet, tossing it gently to combine. The bacon should be evenly distributed so each bite gets that smoky crunch. Let the mixture rest for 30 seconds to allow the flavors to meld together. The final aroma should be a savory, slightly sweet perfume that makes your mouth water.
- Lay a warmed tortilla flat on a clean surface. Spoon half of the filling onto the center, leaving a small border. Sprinkle shredded lettuce over the filling to add a fresh crunch. Fold the sides of the tortilla in, then roll tightly from one end to the other. The wrap should hold together, but if it feels loose, add a pinch of salt to help it seal.
- Optional: For a golden finish, place the wrapped tortilla seam‑side down in a lightly oiled pan and grill for 1-2 minutes on each side. The tortilla should develop a crisp edge that locks the filling inside. This step is purely aesthetic, but the added crunch makes the wrap feel like a gourmet sandwich.
That’s it— you did it. But hold on, I’ve got a few more tricks that will take this to another level…
Insider Tricks for Flawless Results
The Temperature Rule Nobody Follows
Many cooks think any heat will do, but the secret lies in medium heat. Cooking the filling over medium ensures the chicken stays juicy and the bacon crisps evenly. If the heat is too high, the bacon will burn and the chicken will dry out, ruining the delicate balance of flavors. Keep an eye on the skillet, and adjust the flame as needed.
Why Your Nose Knows Best
Before you add the ranch, pause and inhale the aroma of the seasoned chicken. A fresh, garlicky scent indicates the chicken is ready, while a burnt smell warns of overcooking. Trusting your nose is a simple way to avoid common pitfalls and keep the wrap tasting fresh.
The 5‑Minute Rest That Changes Everything
After assembling the wrap, let it rest on a plate for 5 minutes before slicing. This rest period allows the cheese to set slightly, preventing it from oozing out when you cut into the wrap. It also gives the flavors a chance to meld, resulting in a more cohesive bite.
The Secret of Even Bacon
To avoid uneven bacon, lay the strips side‑by‑side in the pan and let them cook on a single side before flipping. This technique ensures each piece crisps uniformly and reduces the risk of burning.
The Cheddar Trick
If you prefer a stronger cheddar flavor, grate the cheese finely so it melts faster and blends more seamlessly into the sauce. A coarse grate will create chunks that stand out, which can be a delightful texture contrast if that’s your style.
Creative Twists and Variations
This recipe is a playground. Here are some of my favorite ways to switch things up:
Spicy Southwest Wrap
Swap the ranch for a chipotle‑infused mayo and add a handful of sliced jalapeños. The heat complements the smoky bacon, and the chipotle adds a deep, earthy flavor. Serve with a side of guacamole for extra richness.
Mediterranean Delight
Use hummus instead of ranch and top with crumbled feta, chopped olives, and a drizzle of tzatziki. The tangy feta and cool yogurt create a refreshing contrast to the warm tortilla. Add a sprinkle of oregano for a fragrant finish.
Veggie‑Power Wrap
Replace the chicken with sautéed mushrooms and add sliced avocado, shredded carrots, and a handful of spinach. The mushrooms give a meaty texture, while the avocado adds creaminess. Finish with a squeeze of lime for brightness.
Breakfast Burrito Swap
Use scrambled eggs in place of chicken, add a dash of salsa, and sprinkle with pepper jack cheese. This version turns the wrap into a hearty breakfast that’s perfect for a weekend brunch. Fold it like a burrito and grill for a crispy finish.
Gluten‑Free Version
Use a gluten‑free tortilla and double‑check that the ranch and bacon are free from hidden gluten additives. The wrap will still deliver the same flavor profile, but with a gluten‑free twist for those with dietary restrictions.
Dessert‑Inspired Wrap
For a sweet twist, replace the cheddar with sweetened cream cheese, add diced strawberries, and drizzle honey over the filling. The creamy, fruity combination turns the wrap into a dessert that’s surprisingly refreshing.
Storing and Bringing It Back to Life
Fridge Storage
Store the assembled wraps in an airtight container in the refrigerator for up to 2 days. Wrap each individually in parchment paper to maintain freshness. When ready to serve, let them sit at room temperature for 15 minutes to soften slightly.
Freezer Friendly
Wraps can be frozen for up to 1 month. Place each wrap in a freezer bag, seal tightly, and remove as much air as possible. Thaw overnight in the refrigerator before reheating.
Best Reheating Method
Reheat the wrap in a skillet over medium heat, sealing the edges with a damp paper towel to keep moisture in. Alternatively, use a microwave on medium power for 45 seconds, then finish in the skillet for crispness. Add a tiny splash of water before reheating to steam back to perfection.