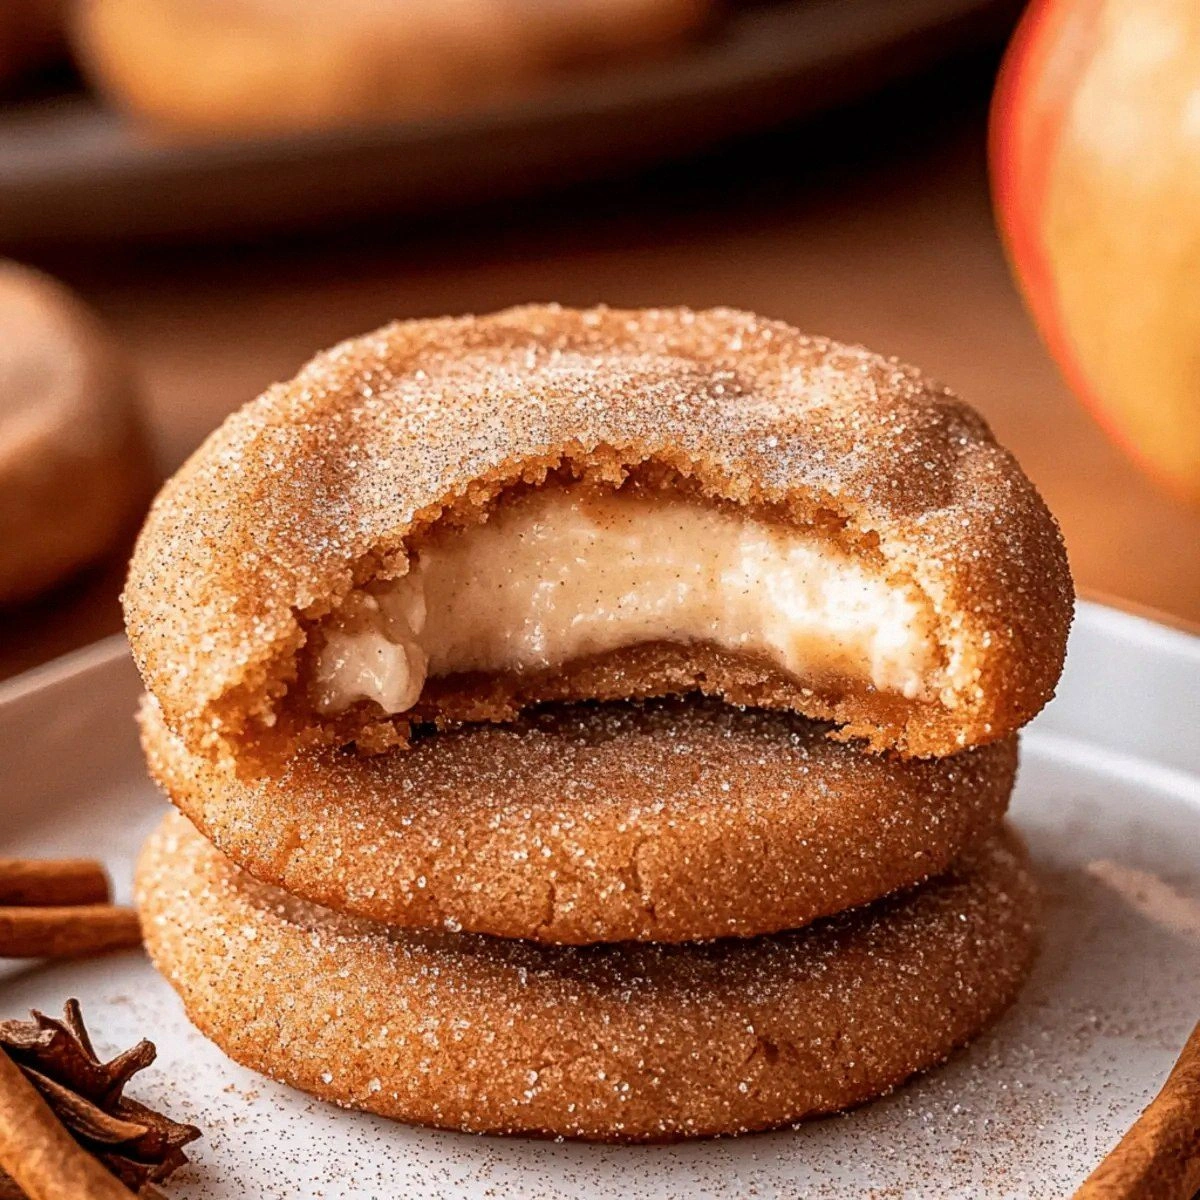
I was standing in my kitchen on a snowy December night, the kind of night where the only thing louder than the wind outside is the rumble of my stomach. I had just tried to make a batch of classic chocolate chip cookies, but they turned out as flat as a pancake and about as exciting as a beige wall. My roommate dared me to create something that would make the whole building smell like a holiday market, and I thought, “Why not toss every festive snack I own into one massive cookie?” That moment of reckless ambition birthed the ultimate “kitchen sink” cookie – a chaotic, crunchy, sweet, salty, and colorful explosion that makes even the grinch crack a smile.
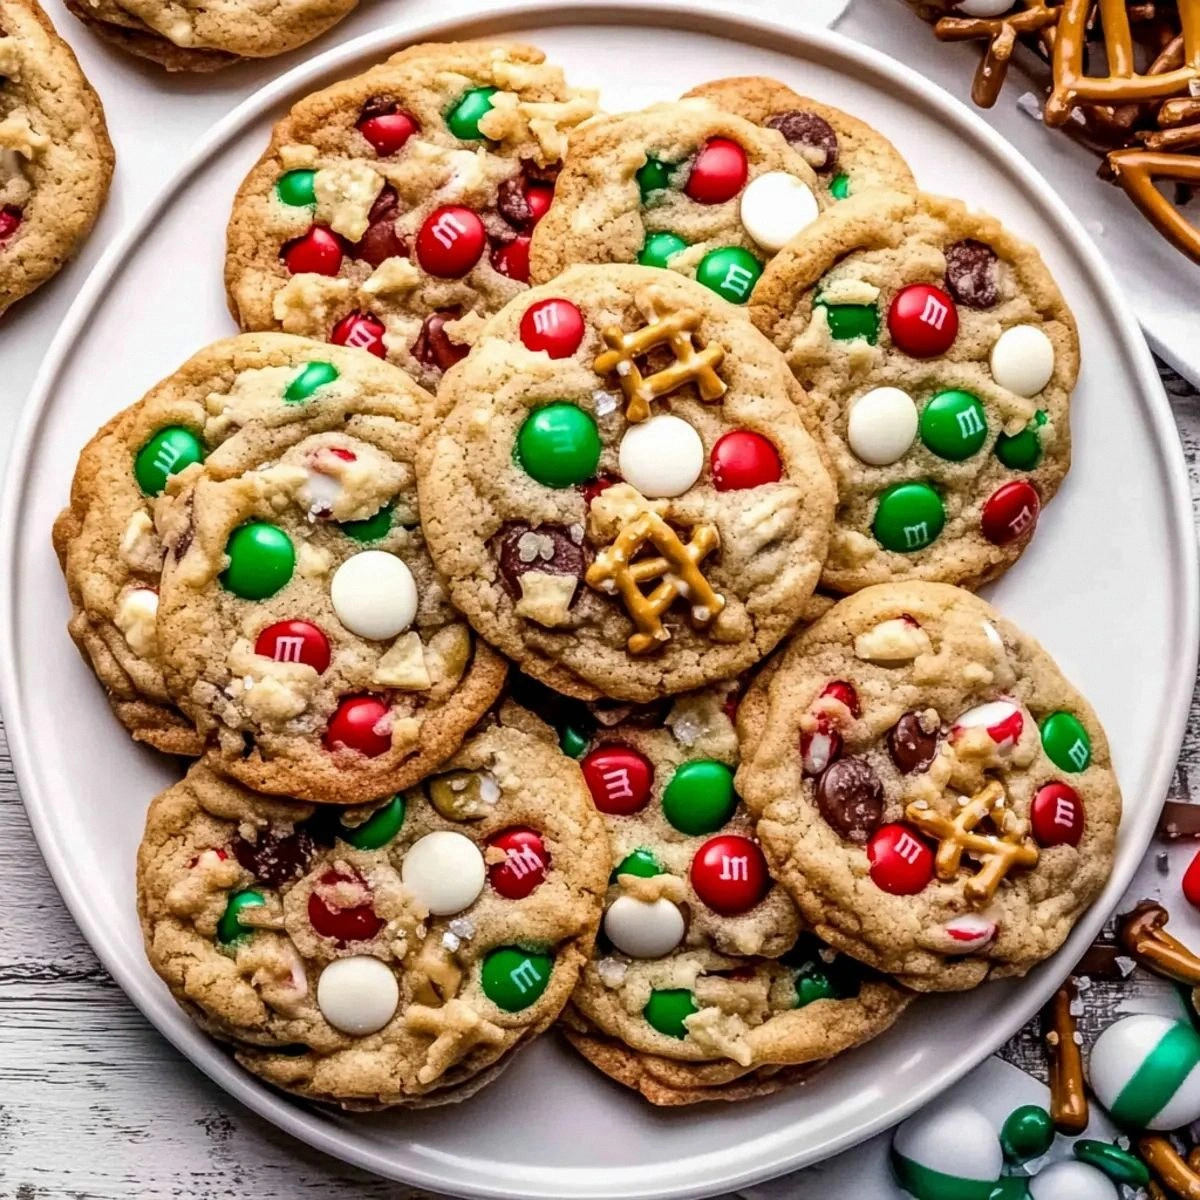
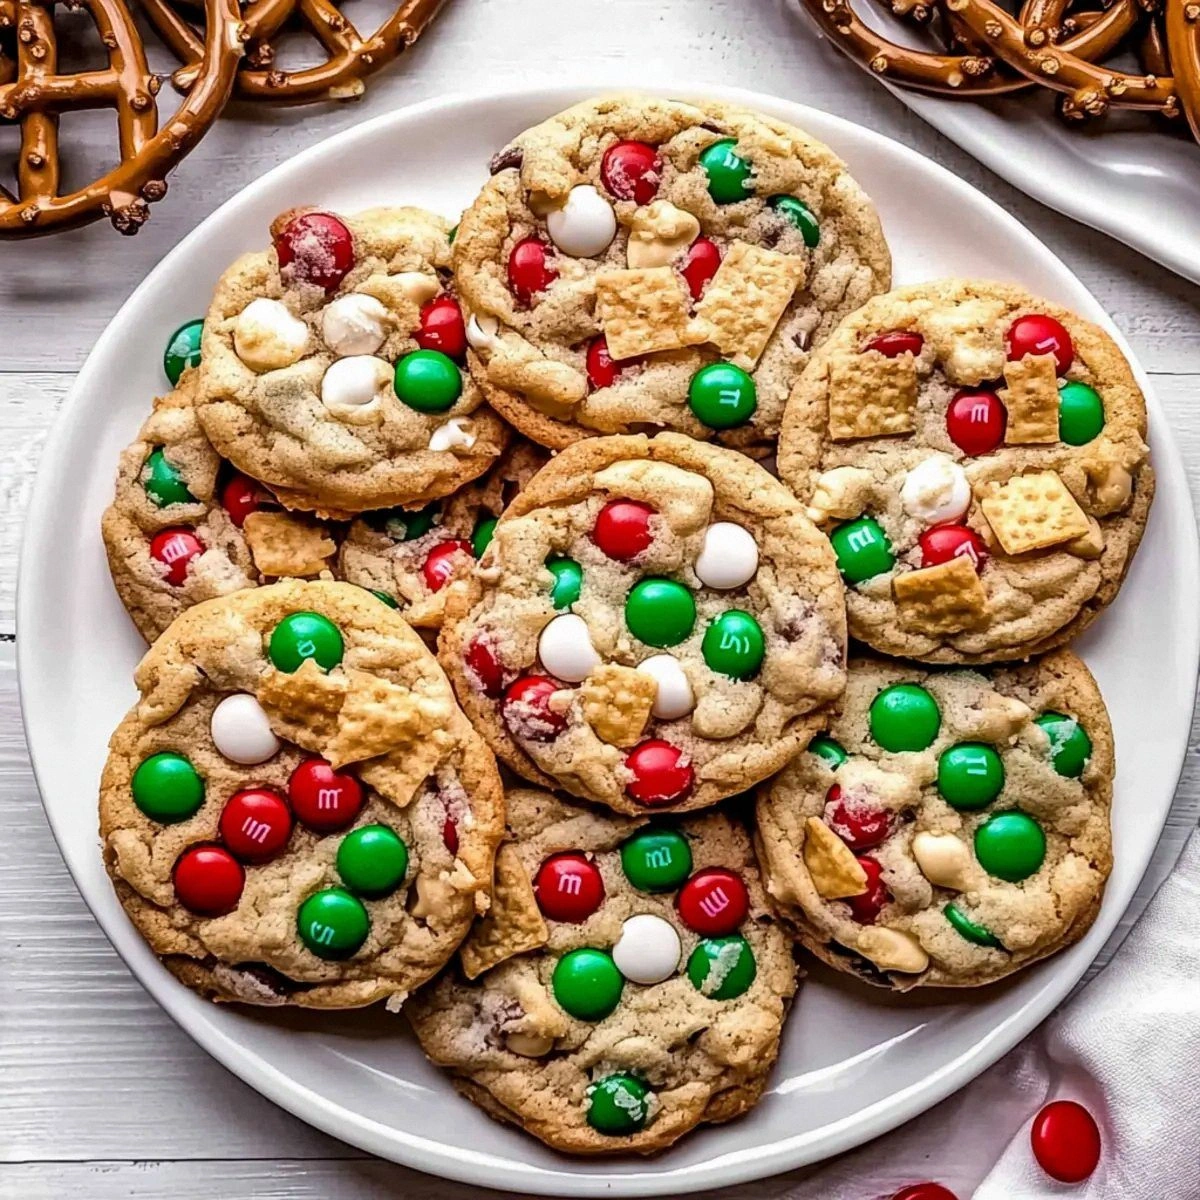
Picture the scene: the oven preheats and the air fills with the buttery perfume of melted sugar, the faint crackle of pretzels and potato chips hitting the hot butter like tiny fireworks. The countertop is a riot of colors – red and green M&M’s glimmer like tiny ornaments, white chocolate chips melt into glossy rivers, and the jimmies add a sparkle that would make any Christmas tree jealous. My hands are covered in flour, but the feeling is pure joy, like a kid in a candy store who’s just been handed the key to the cash register. The sound of the mixer whirring is a steady beat, a rhythm that says, “We’re about to create something legendary.”
What makes this version stand out? Most cookie recipes either stick to one flavor profile or require a marathon of prep time that would make anyone lose faith in holiday baking. This one throws the rulebook out the window and embraces every festive snack you can think of, yet it stays under 30 minutes from start to finish. The secret? A simple technique of chilling the dough just long enough to let the butter firm up, which gives you a cookie that’s crisp on the edges, chewy in the middle, and packed with surprises in every bite. I’ll let you in on a tiny ingredient swap that adds a subtle depth you’ll swear is magic – a splash of heavy cream that makes the dough luxuriously smooth without weighing it down.
I dare you to taste this and not go back for seconds. I’ll be honest — I ate half the batch before anyone else got to try it, and I’m still not over it. This is hands down the best version you’ll ever make at home, and I’m about to walk you through every single step — by the end, you’ll wonder how you ever made cookies any other way.
What Makes This Version Stand Out
- Taste: The combination of salty butter, caramelized brown sugar, and sweet white chocolate creates a flavor symphony that sings “holiday” with every bite.
- Texture: You get crunchy pretzel shards, salty chip shards, and a soft, chewy center that holds all the goodies together.
- Simplicity: Despite the “kitchen sink” name, the method uses only one bowl and a single bake, keeping cleanup to a minimum.
- Uniqueness: No other cookie packs pretzels, potato chips, M&M’s, and jimmies together – it’s a flavor carnival.
- Crowd Reaction: Guests will gasp, laugh, and immediately ask for the recipe, turning any gathering into an instant party.
- Ingredient Quality: Using salted butter and high‑quality white chocolate amplifies the overall richness without extra effort.
- Cooking Method: The quick chill‑and‑bake technique ensures perfect spread and prevents over‑spreading.
- Make‑Ahead Potential: The dough can be frozen for up to a month, letting you prep weeks in advance for a stress‑free holiday.
Inside the Ingredient List
The Flavor Base
The backbone of any great cookie is the butter and sugar mixture. I use 1 cup of salted butter, which brings a subtle briny note that balances the sweetness of the 1 cup of light brown sugar and the ½ cup of granulated white sugar. When you cream these together, the mixture turns a pale gold, almost like sunrise on a winter morning, and it creates tiny air pockets that later become those coveted crispy edges. If you skip the salted butter and go unsalted, you’ll need to add an extra pinch of salt, otherwise the cookies can taste flat.
Swap tip: If you’re dairy‑free, try a solid coconut oil; it will add a faint tropical hint that surprisingly pairs well with the chocolate and pretzel bits.
The Texture Crew
This is where the “kitchen sink” truly lives. A cup of red and green M&M’s brings a burst of color and a crunchy shell that doesn’t melt completely, preserving that festive pop. The white chocolate chips melt into silky ribbons, while the pretzel pieces add a salty snap that cuts through the sweetness. Potato chip pieces, surprisingly, give a delicate, airy crunch that feels like biting into a snow‑crusted pinecone. Finally, the ¼ cup of red and green jimmies adds a sparkle that looks like tiny ornaments scattered across a snowy field.
Watch out: Over‑mixing after adding the chips and pretzels can crush them, turning the cookie into a uniform dough. Gently fold them in until just combined.
The Unexpected Star
Egg yolks are the secret binding agents that give these cookies their luxurious chew. Using three large yolks (and no whites) adds richness without making the dough too wet. The yolks also contribute a golden hue that makes the finished cookie look like a freshly baked holiday treat. If you’re allergic to eggs, a mashed ripe banana or a quarter‑cup of unsweetened applesauce can serve as a binder, though the flavor will shift slightly toward fruit.
The Final Flourish
All‑purpose flour, baking powder, baking soda, and a pinch of salt create the perfect leavening balance. The 2½ cups of flour provide structure, while the 1 tsp each of baking powder and soda ensure the cookies rise just enough to stay tender. The half‑tsp of salt amplifies every other flavor, making the sweet‑salty contrast pop. If you prefer a gluten‑free version, substitute with a 1‑to‑1 blend of rice flour, almond flour, and tapioca starch, but add a little extra xanthan gum to hold everything together.
Everything's prepped? Good. Let's get into the real action…
The Method — Step by Step
Preheat your oven to 350°F (175°C) and line two baking sheets with parchment paper. While the oven heats, let the butter soften at room temperature – this is the moment you can hear the faint sigh of anticipation from the kitchen. The butter should be pliable but not melted; if it’s too soft, the cookies will spread too much.
Kitchen Hack: Cut the butter into small cubes before softening; this speeds up the softening process and ensures even texture.In a large mixing bowl, cream together the 1 cup of salted butter, 1 cup of light brown sugar, and ½ cup of granulated white sugar until the mixture is light, fluffy, and a shade brighter than a sunrise. This should take about 3–4 minutes on medium speed – you’ll hear a gentle whir that feels like a tiny snowstorm in the bowl. Scrape down the sides to make sure every speck of sugar is incorporated.
Add the three egg yolks one at a time, beating well after each addition. Then stir in the tablespoon of vanilla bean paste or extract, letting the aromatic vanilla perfume the batter like fresh‑cut pine. The mixture will look glossy and slightly thick, a perfect canvas for the dry ingredients.
In a separate bowl, whisk together the 2½ cups of all‑purpose flour, 1 tsp baking powder, 1 tsp baking soda, and ½ tsp salt. This dry blend ensures even distribution of leavening agents, preventing any pockets of bitter soda. Once whisked, gently fold the dry mixture into the wet batter, being careful not to over‑mix; you want to see just a few flour streaks disappearing.
Watch Out: Over‑mixing at this stage can develop gluten, leading to tough cookies. Stop as soon as the dough comes together.Now comes the fun part: fold in the 1 cup of red and green M&M’s, 1 cup of white chocolate chips, 1 cup of pretzel pieces, 1 cup of potato chip pieces, and the ¼ cup of red and green jimmies. Use a rubber spatula and turn the bowl gently, allowing each bite‑size treasure to stay whole. You’ll hear a soft clatter as the chips and pretzels tumble – that’s the sound of festive fireworks.
Cover the bowl with plastic wrap and place it in the refrigerator for exactly 10 minutes. This short chill firms the butter just enough to keep the cookies from spreading too thin, while still allowing the dough to be pliable for scooping. While you wait, picture the moment you pull the tray out of the oven, the whole kitchen smelling like a holiday market.
Using a cookie scoop (about 2 tablespoons), drop rounded mounds onto the prepared baking sheets, spacing them 2 inches apart. The dough should hold its shape but still have a slight mound – if it’s too flat, your dough was over‑chilled; if it’s too tall, give it a few extra seconds in the fridge.
Kitchen Hack: Lightly dust the scoop with flour before each drop to prevent sticking and keep the cookie sizes uniform.Bake for 12–14 minutes, or until the edges are a deep golden brown and the centers still look slightly soft. The aroma will fill the kitchen with a buttery, caramelized scent that makes you want to dance. When you lift a cookie, the edges should start pulling away from the parchment, a visual cue that they’re done.
Allow the cookies to cool on the sheet for 3 minutes – this lets them set without breaking, then transfer them to a wire rack to finish cooling. As they cool, the chocolate chips will set, the pretzel pieces will firm, and the jimmies will sparkle like tiny snowflakes. That sizzle when it hits the pan? Absolute perfection.
That's it — you did it. But hold on, I've got a few more tricks that'll take this to another level…
Insider Tricks for Flawless Results
The Temperature Rule Nobody Follows
Never bake cookies straight from the fridge at a temperature lower than 350°F. If the dough is too cold, the butter won’t melt quickly enough, leading to uneven spreading. I always let the chilled dough sit at room temperature for 2 minutes before sliding it into the oven – this tiny pause guarantees consistent edges and a uniform rise.
Why Your Nose Knows Best
Your sense of smell is a more reliable timer than any kitchen clock. When the cookies start giving off a nutty, caramelized aroma (think toasted marshmallows at a campfire), that’s your cue to check the edges. If the scent is still buttery, give them another minute; if it’s sweet and slightly smoky, they’re ready.
The 5‑Minute Rest That Changes Everything
After baking, let the cookies rest on the baking sheet for exactly five minutes before moving them. This short pause lets the interior finish setting, preventing a gummy center. A friend tried to skip this step once and ended up with a cookie that fell apart the moment it touched a plate – a lesson learned the hard way.
The Double‑Layer Flip
If you love extra crispiness, flip each cookie halfway through baking. This ensures both sides get that golden‑brown kiss from the heat. The result is a cookie that crackles like thin ice when you bite into it, adding another texture dimension.
The Secret Ingredient Boost
A splash of heavy cream (about two tablespoons) added to the butter‑sugar mixture creates a silkier dough that spreads just enough to showcase every colorful addition. This is the game‑changer that turns a good cookie into a legendary one.
Creative Twists and Variations
This recipe is a playground. Here are some of my favorite ways to switch things up:
Nutty Noel
Swap half the pretzel pieces for toasted pecans or walnuts. The nutty oil adds a buttery depth that pairs beautifully with the white chocolate.
Citrus Sparkle
Add a tablespoon of finely grated orange zest to the batter and replace the jimmies with candied orange peel. The citrus lifts the sweetness and adds a fresh holiday aroma.
Double‑Chocolate Delight
Replace the white chocolate chips with an equal amount of dark chocolate chips, and sprinkle a pinch of espresso powder into the dry mix. The result is a sophisticated, slightly bitter contrast that still feels festive.
Vegan Vibes
Use a plant‑based butter, coconut sugar, and flax‑egg (1 tbsp ground flaxseed + 3 tbsp water) in place of the egg yolks. The flavor profile shifts slightly, but the texture remains delightfully chewy.
Holiday Spice Explosion
Add ½ tsp each of ground cinnamon, nutmeg, and ginger to the dry ingredients. This creates a warm spice undertone that makes the cookies perfect for a winter gathering.
Storing and Bringing It Back to Life
Fridge Storage
Place cookies in an airtight container with a paper towel on top to absorb excess moisture. They stay fresh for up to 5 days, and the chill keeps the chocolate from blooming.
Freezer Friendly
Layer cookies between parchment sheets and seal the container. They freeze solid for up to 3 months. When you’re ready, let them thaw at room temperature for 15 minutes, then reheat.
Best Reheating Method
Preheat the oven to 300°F (150°C), place a single layer of cookies on a baking sheet, and add a tiny splash (about a teaspoon) of water to the tray. The steam revives the chewiness while the edges re‑crisp. In just 5 minutes, they’re as if freshly baked.